
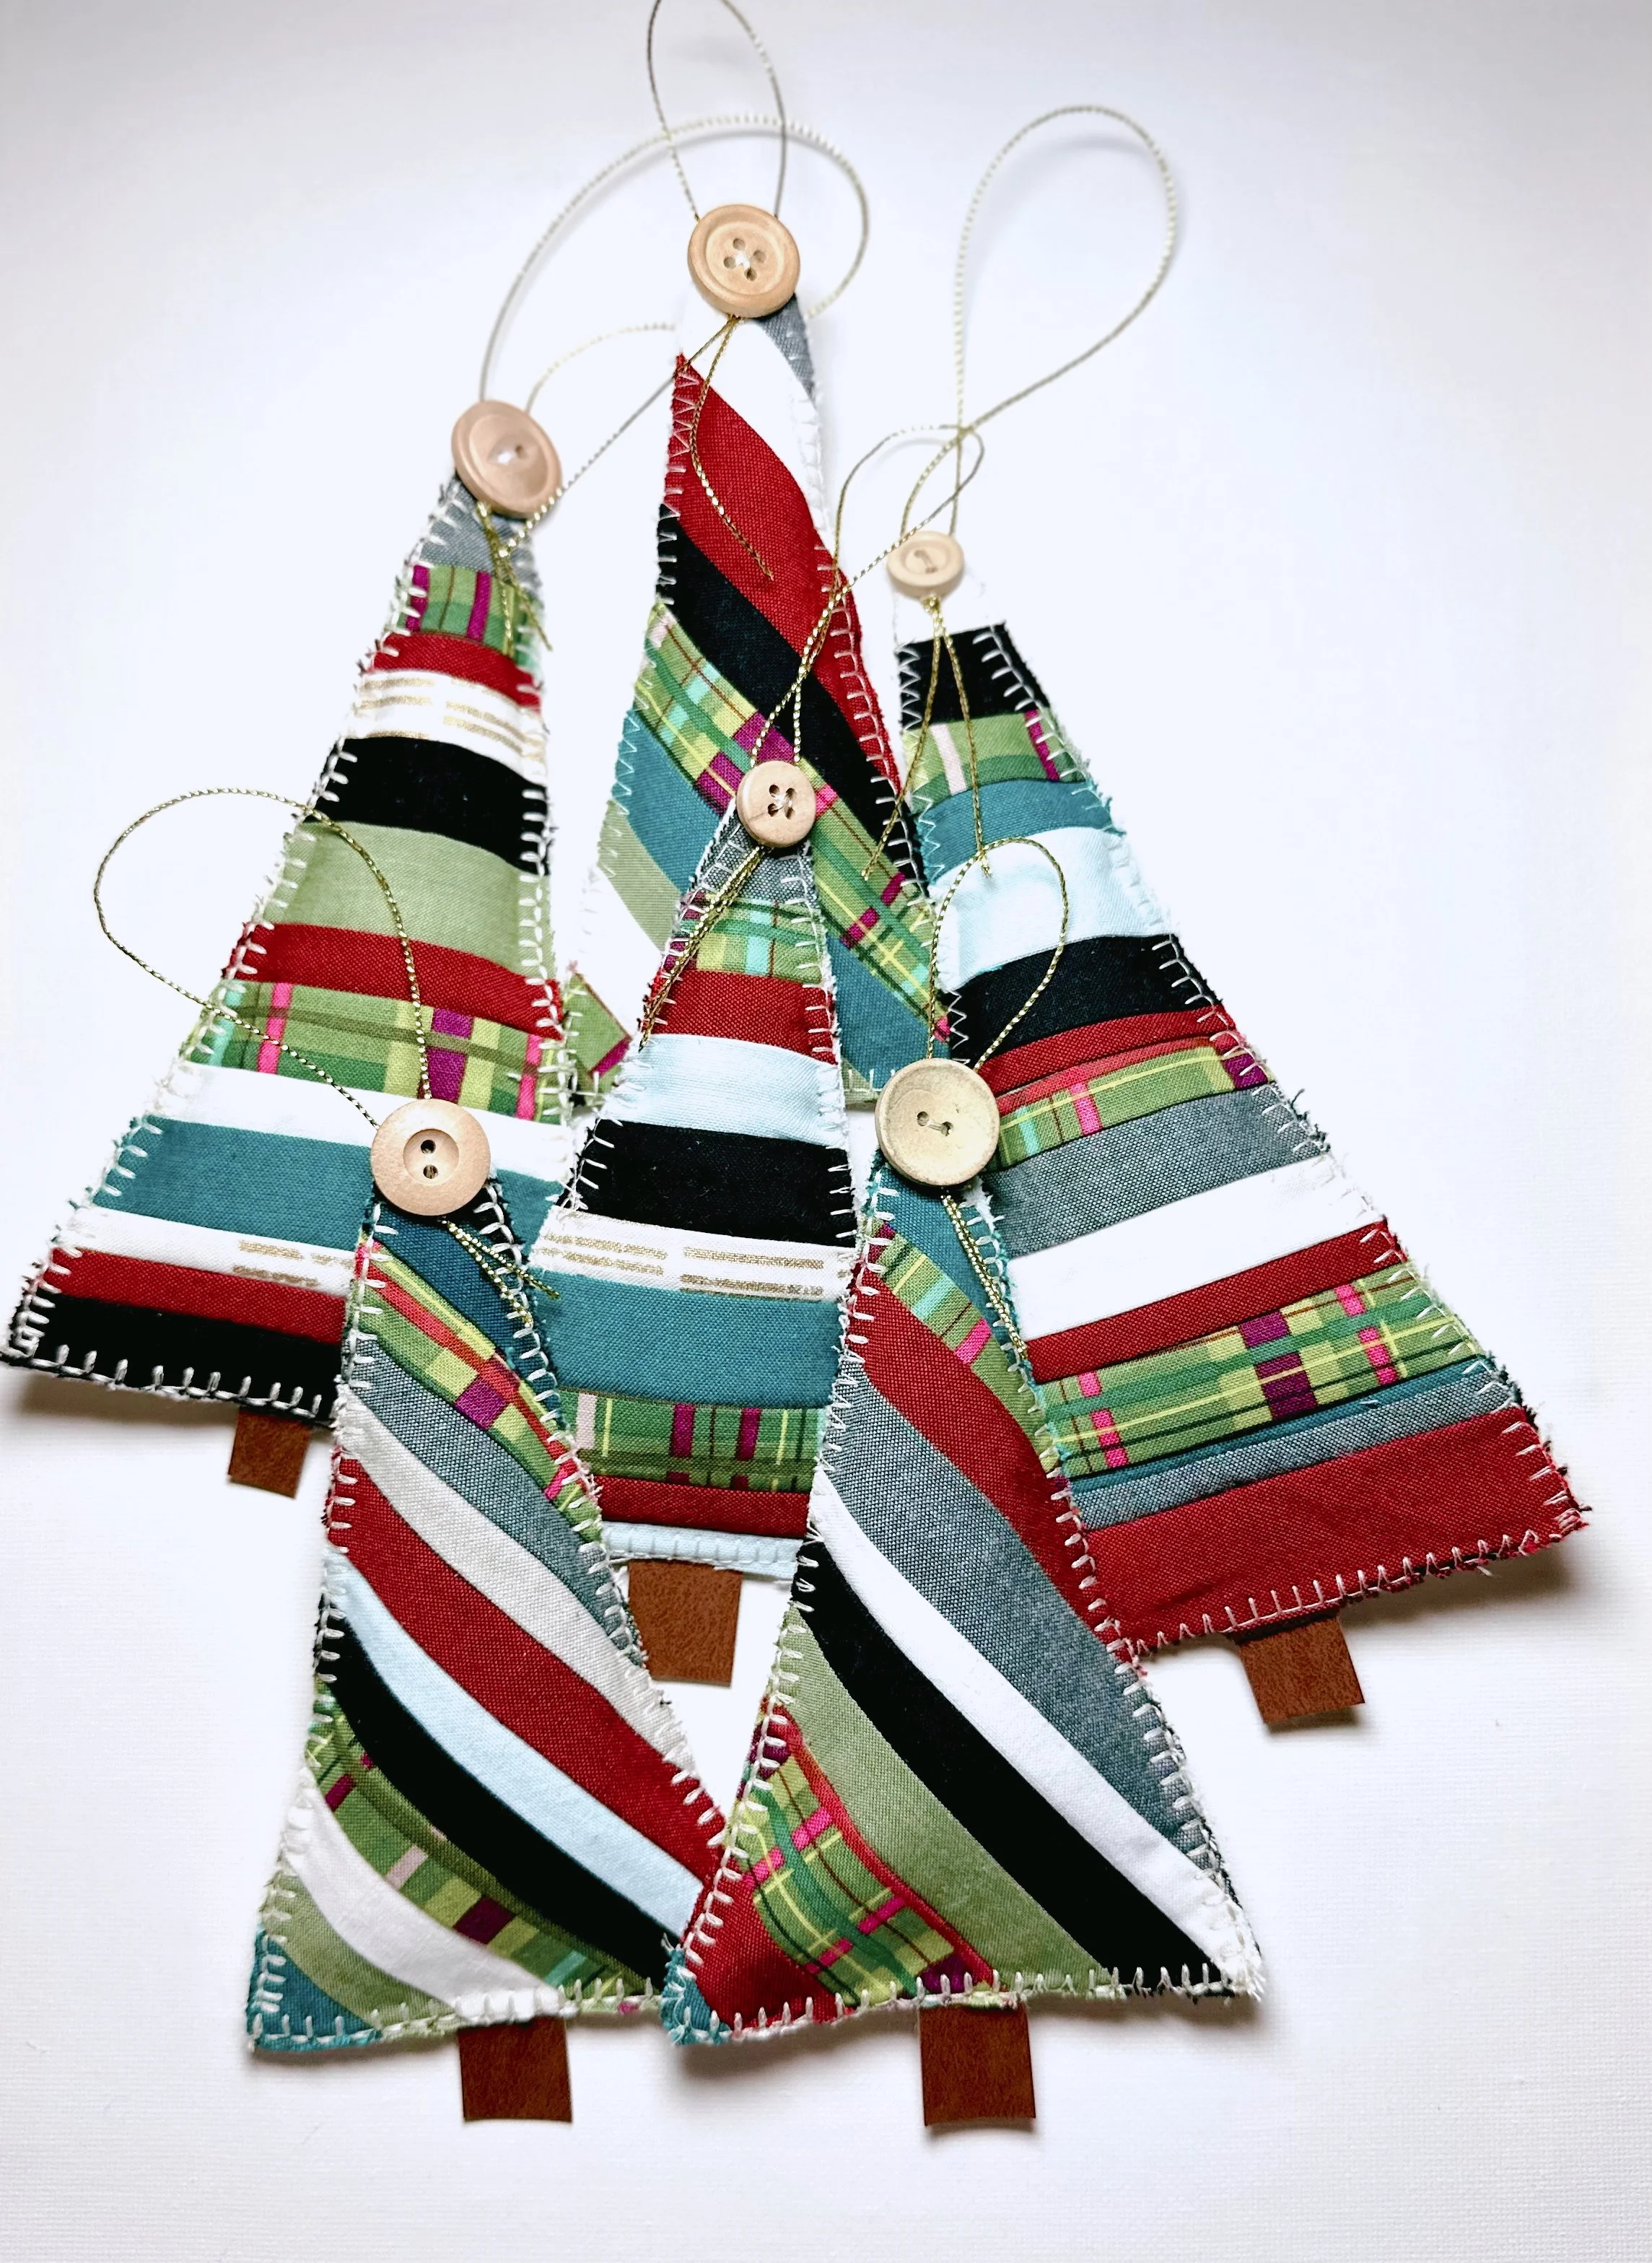
Easy Christmas Ornaments: Raw Edge, Quilt-as-You-Go
Create fun quilt-as-you-go ornaments that make great quick holiday gifts. These easy-to-make ornaments are an excellent use for your fabric and batting scraps. The perfect eco-conscious project! You'll be surprised at how quickly you can turn leftover scraps into lovely keepsakes with simple techniques anyone can learn. Whether decorating your Christmas tree or gifting a friend, these ornaments are a fast sewing project for all skill levels. So, explore your holiday fabric stash and craft unique gifts and beautiful Christmas decorations that will bring joy to everyone! The Video Tutorial will walk you through each step!
Materials Needed:
Assorted fabric scraps (holiday prints and solids)
Decorative fabric or felt for the backing
Cotton batting
Scissors
Sewing machine
Thread (matching or contrasting)
Rotary cutter and mat (optional)
Template to cut ornament shapes from (optional)
Stuffing - I used leftover batting pieces, but you could use fabric scraps, cotton, or anything else that works for you.
Straight pins or fabric clip
Decorative elements, such as buttons or beads (optional)
Glue/glue gun (optional)
Ribbon or string for hanging
Step 1: Prepare Your Fabrics
Choose Your Fabrics: Choose a variety of fabric scraps in festive colors and patterns. For visual interest, use both prints and solids.
Cut Fabric Strips into strips at least 12” x various widths - minimum 3/4”.
Cut Batting: For your finished strip set, use (1) 12” square of batting or any size you want.
Cut Backing Fabric: Cut (1) 12” piece of decorative backing fabric. Use a holiday print, felt, coordinating solid, and use your imagination.
Step 2: Make the Ornaments
Stitch the Strip Set - using the quilt-as-you-go method.: Place (2) strips of fabric, right sides together, on the left side of the 12” batting square. Stitch a 1/4” seam on the right side of the strips. Finger press open. Continue working across the batting in the same way. *See Video Tutorial
Trim
Layer: Finished strip set and backing Wrong Sides Together.
Cut into desired ornament shapes. I cut triangles for trees, but you could use a template or free-form cut for any shape.
Stitch along two sides of the raw edges, leaving an opening to add the stuffing. Machine or hand stitch using a decorative stitch - like the blanket stitch, zig-zag, or your favorite stitch
Stuff with your desired stuffing, clip the trunk in place (if making trees), and stitch the opening closed along the raw edge.
Step 3: Finishing Touches
Optional Embellishments: To personalize your ornaments, you can add decorative stitching, buttons, beads, or fabric paint.
Create the Hanging Loop: Cut a piece of ribbon or string approximately 6-8 inches long.
Attaching Hanging Loop: Fold the ribbon in half and place it at the top of your ornament, tacking it down with a few stitches during your sewing process. You can also loop over the button and glue it in place, as shown in my example in the video tutorial.
Step 4: Enjoy Your Ornaments
Your Christmas ornaments are now ready to hang! These colorful decorations are perfect for your tree or as gift embellishments. Mix and match designs for a festive, homemade touch this holiday season!
