
Two Easy Ways to Hang a Mini Quilt with a Facing
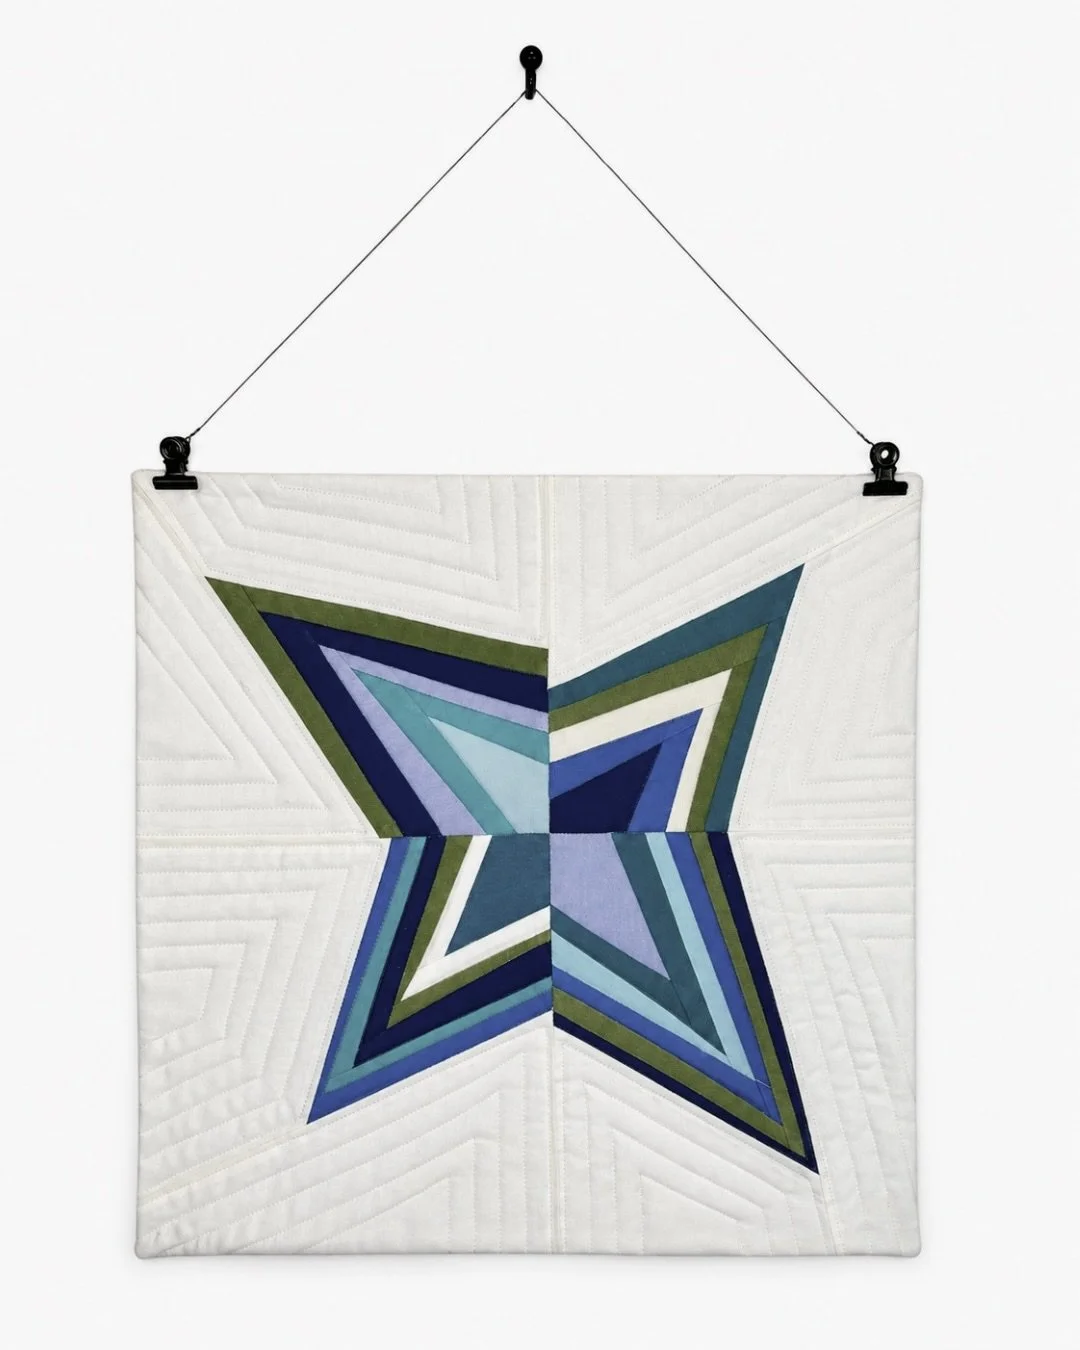
Video Tutorial for Quilt Hanging.
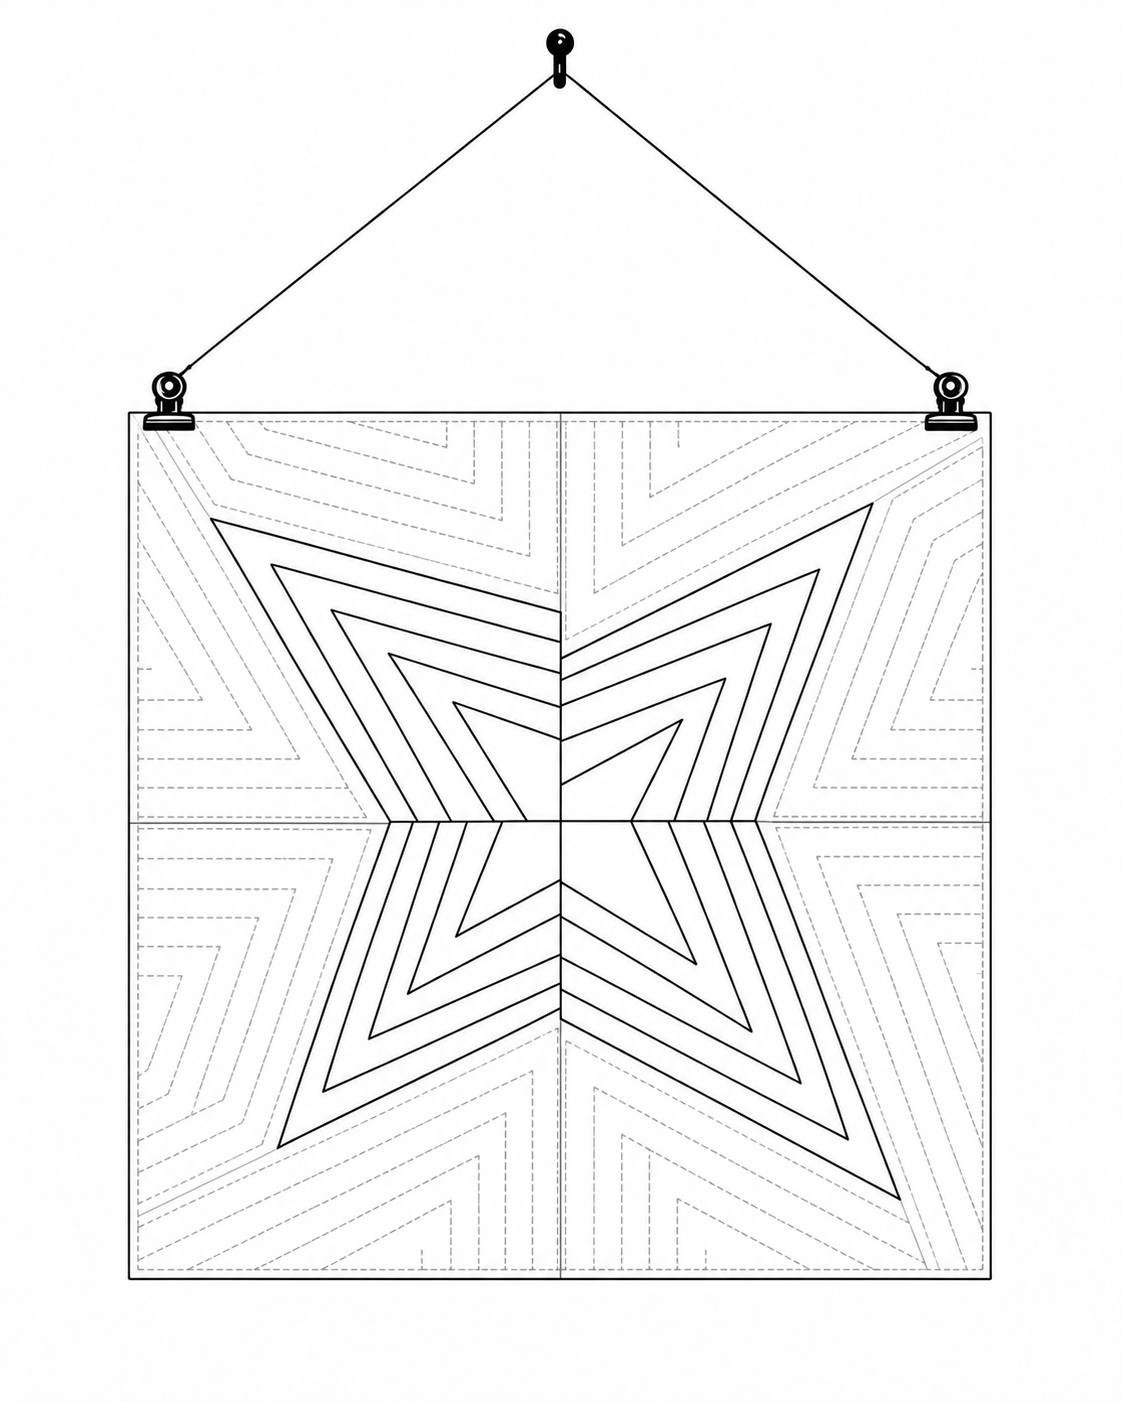
Wire and clip hanging method
A slim dowel supports the top edge while clips and thin wire create a lightweight, removable hanger.
A facing gives a mini quilt a clean, finished edge without binding. The folded-back top corners create hanging pockets for a dowel to hang the quilt. Hang it from the dowel or add a lightweight wire-and-clip hanger.
Need to add the facing first? Follow my How to Finish a Quilt with a Facing tutorial, then come back here to add the hanging system.
What you’ll need
A finished mini quilt with a facing and open corner pockets on the back
A slim wooden dowel
A pencil or other marking tool
A tool suitable for cutting the dowel
Fine sandpaper, if the cut end needs smoothing
For the wire-and-clip option, also gather:
Two small clips
Thin craft wire (the video uses 0.5 mm wire)
Wire cutters or scissors
A push-pin picture hanger
Why add a dowel?
Even a small quilt can curl or sag along the top when it hangs. A dowel tucked into the upper facing corners acts as a hidden brace. It distributes the quilt’s weight, supports the corners, and keeps the top edge crisp, especially with the clip-and-wire option.
STEP 1: MEASURE THE DOWEL
Turn the quilt face down. Lay the dowel across the back near the top edge, lining it up with the two upper facing corners.
Mark the dowel so it reaches into both corner pockets without extending beyond the quilt's sides. The goal is a secure fit that supports the entire top edge without stretching the fabric.
STEP 2: CUT AND CHECK THE FIT
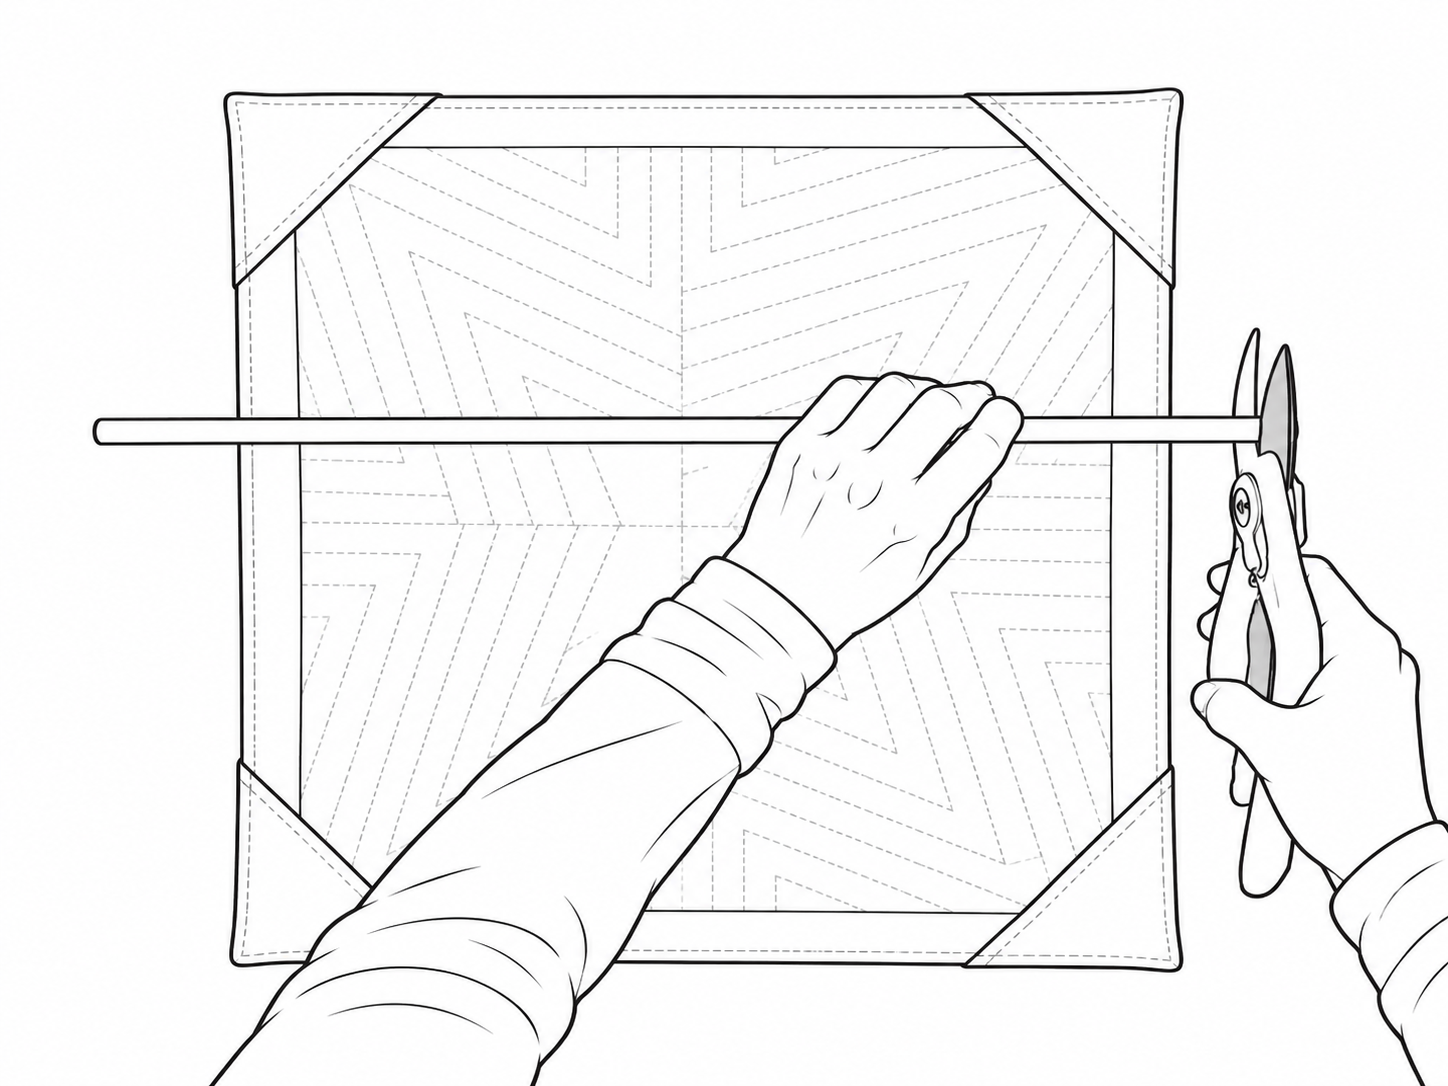
Cut the dowel at the mark with a tool appropriate for its thickness. If the cut end feels rough, sand it smooth so it cannot catch on the facing fabric.
Before inserting it fully, hold the dowel across the top again and confirm both ends will fit inside the corner pockets.
STEP 3: PLACE THE DOWEL IN THE UPPER CORNERS
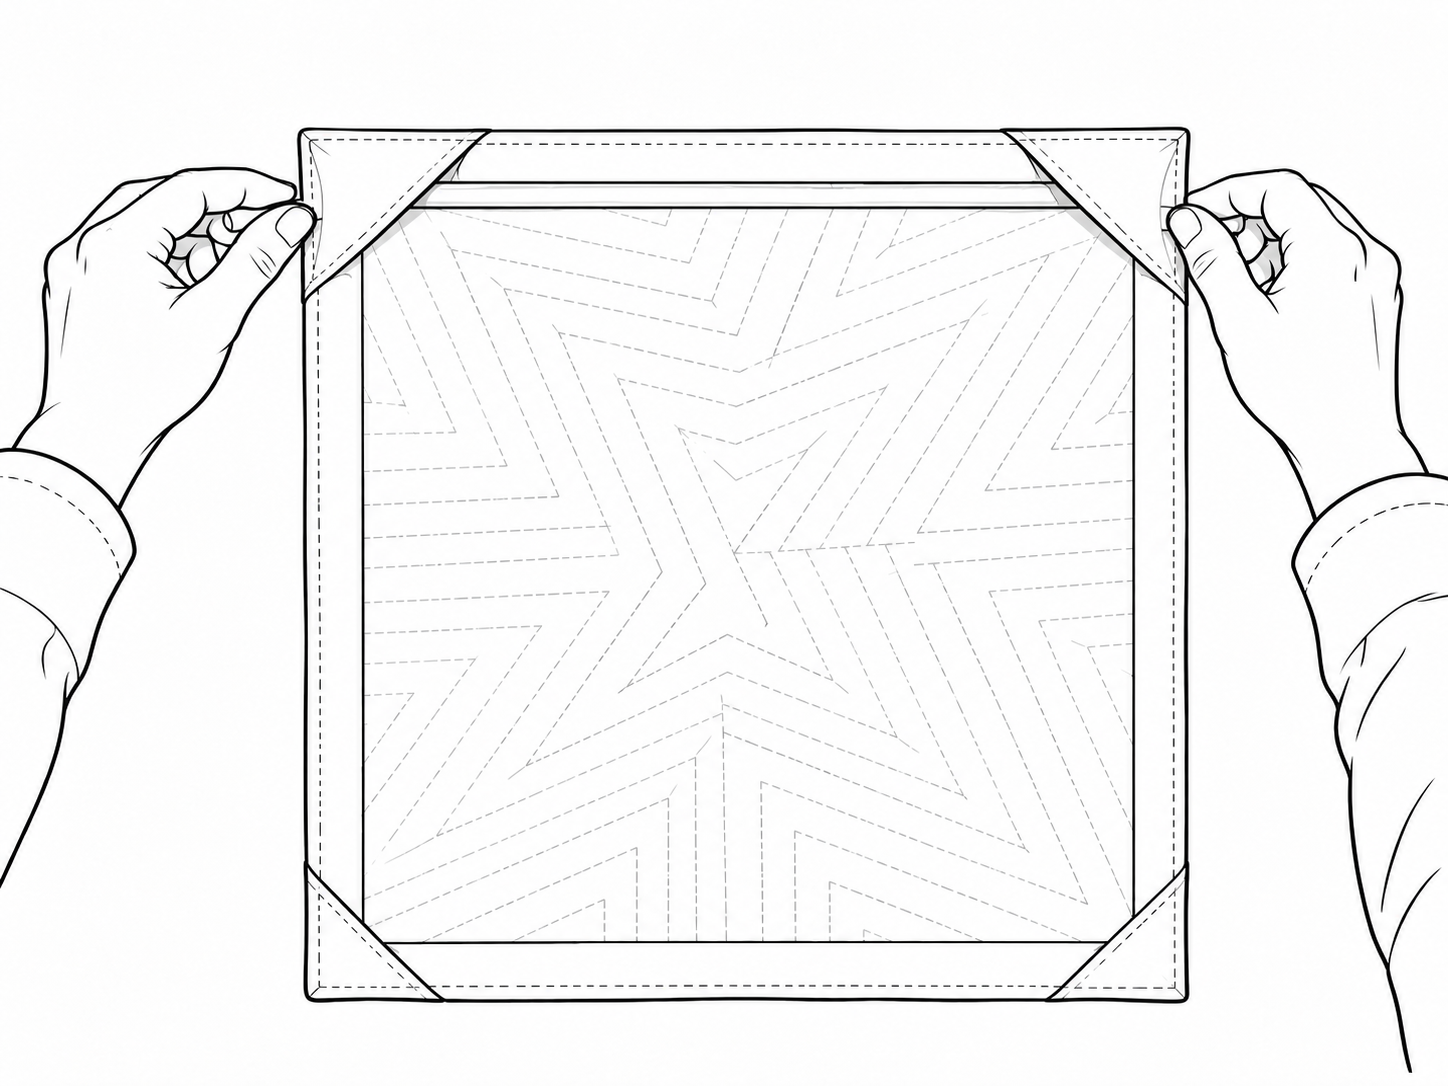
Slip both ends into the upper-facing pockets, then center the dowel so it sits straight and is fully hidden.
Slip one end of the dowel into the first upper-facing corner. Guide the other end into the opposite corner, then center the dowel so both pockets hold it evenly.
The dowel should lie straight across the back of the quilt. If the fabric pulls or the quilt bows, shorten the dowel slightly.
Option 1: Hang the quilt with the dowel alone
For the simplest display, use the fitted dowel as the hanging support. Place it on wall hangers. The support hardware stays hidden, while the dowel keeps the top edge level.
A good pick for a minimal look with little visible hardware.
Option 2: Add a push-pin hanger, wire, and clips
For a more decorative, easy-to-move display, connect two small clips with a length of thin wire. Leave enough wire between the clips to form a gentle inverted V above the quilt.
Install the push-pin picture hanger above the quilt. Attach one clip near each upper corner over the dowel, keeping the clips level.
Place the center of the wire over the push-pin hanger, then step back and make any small adjustments needed to level the quilt.
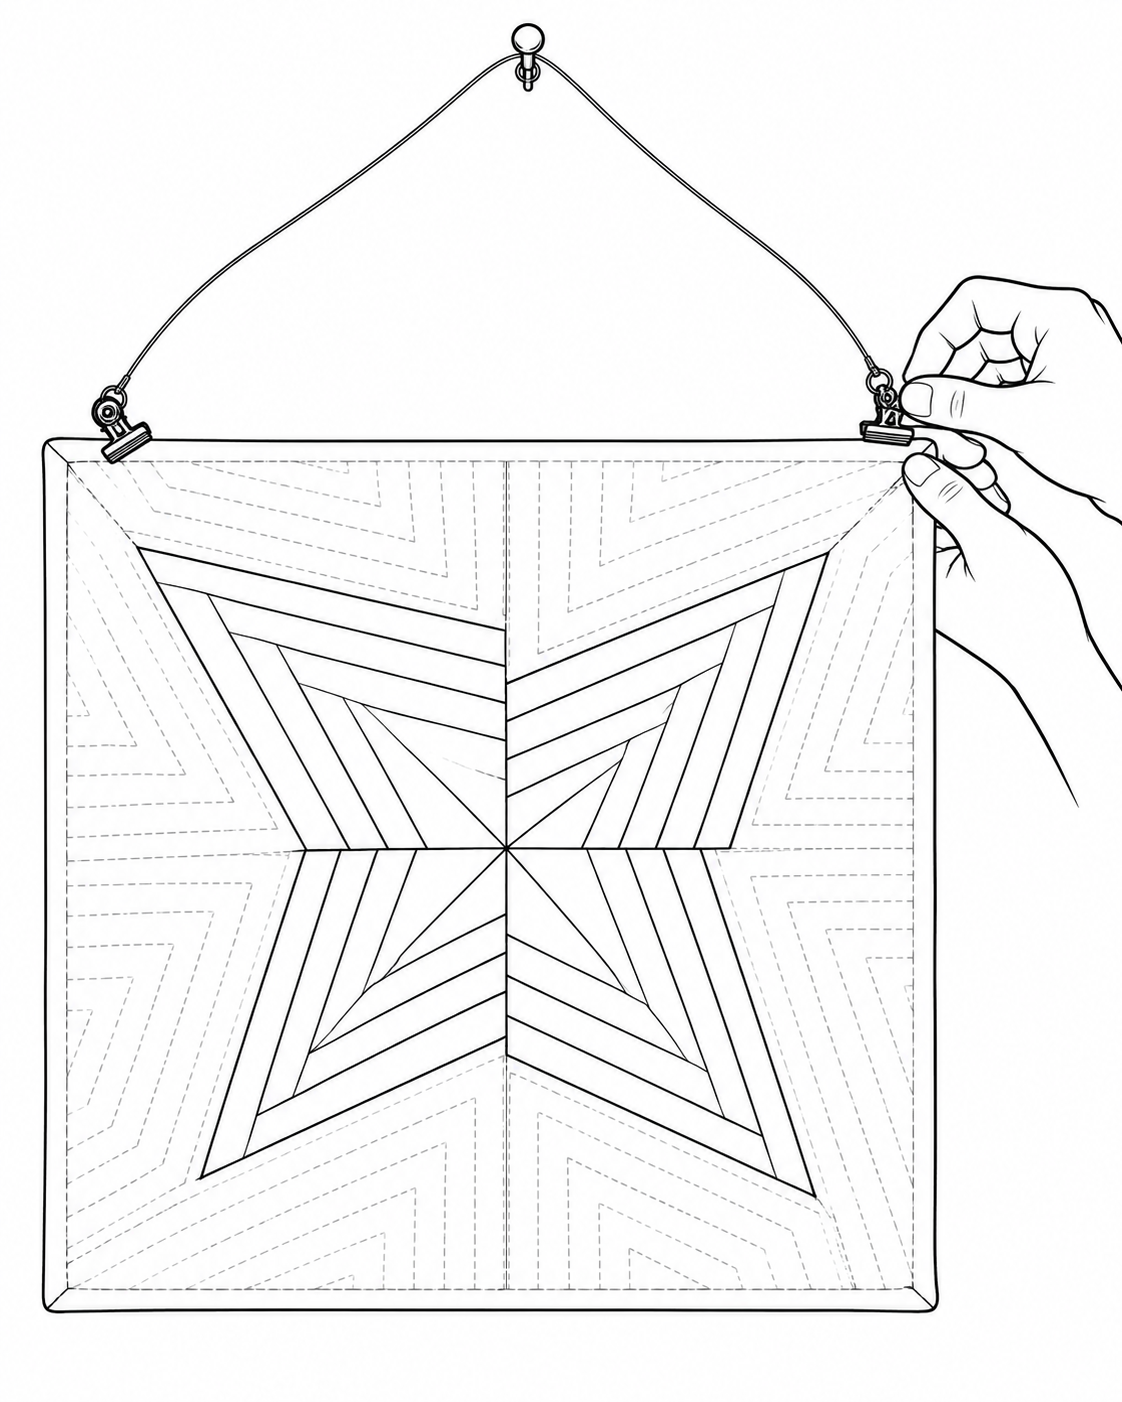
Add the wire and clips
Clip near both upper corners over the dowel, hang the center of the wire from the picture hook, and adjust until level.
A few helpful tips
Test the dowel before hanging the quilt. It should support the top edge without forcing the corners outward.
Keep the clips close to the upper corners to distribute the quilt’s weight evenly.
If you are concerned about clip marks, add a tiny scrap of clean felt between each clip and the quilt.
This hanging method works best for mini quilts. A larger or heavier quilt needs a sturdier rod and sleeve.