
How to Finish a Quilt with a Facing
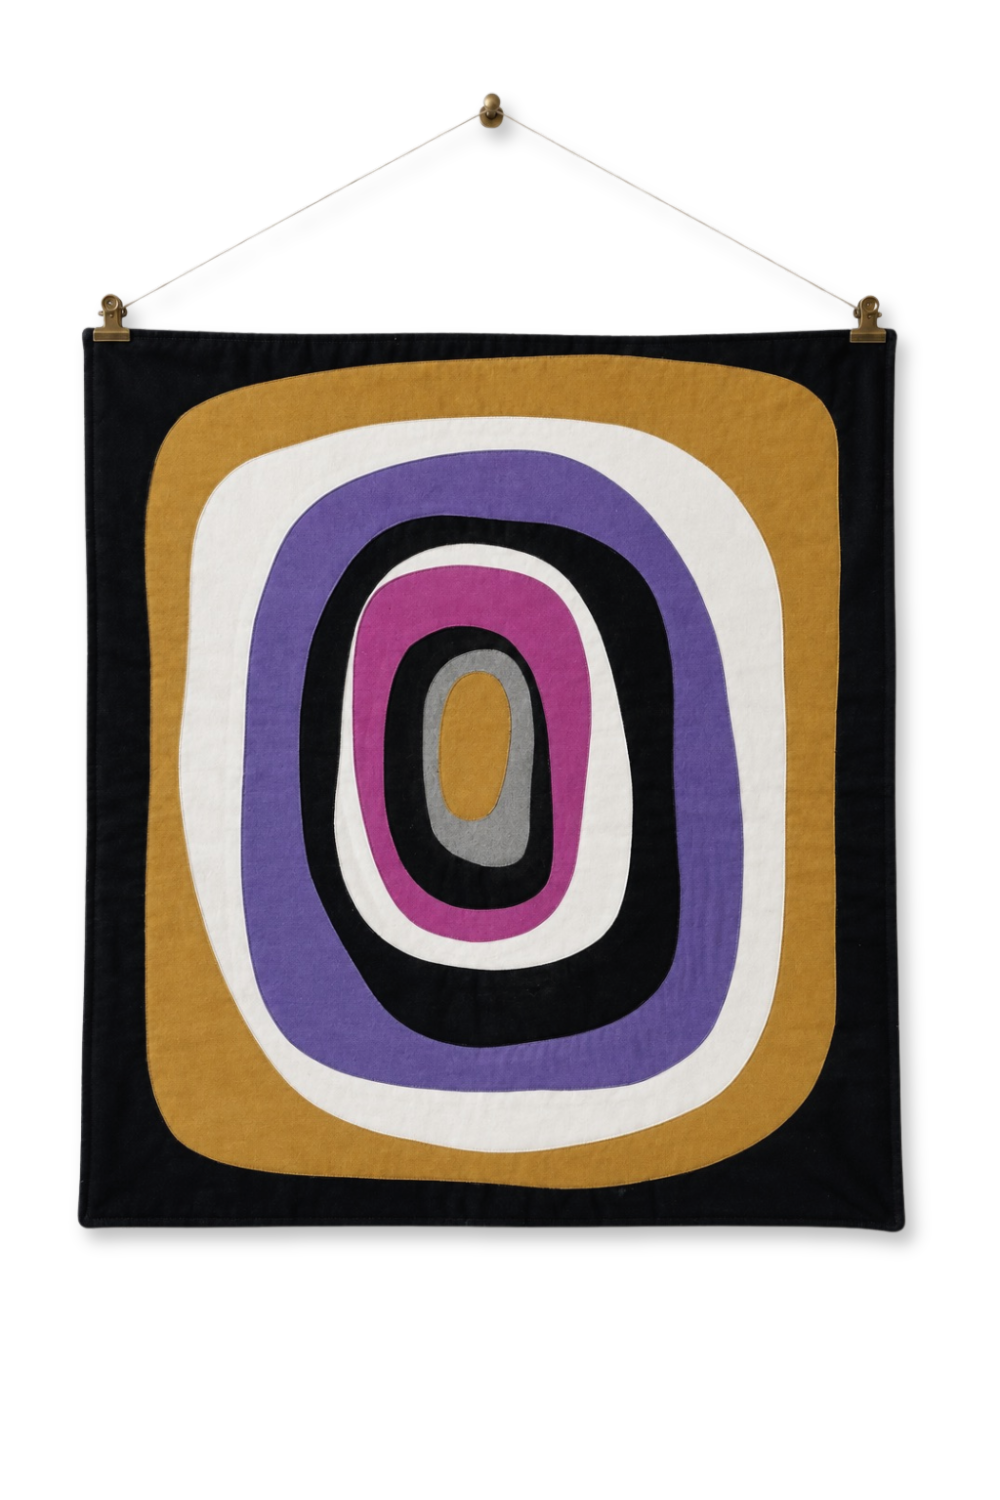
A traditional binding can be a beautiful finishing detail, but sometimes I want a quilt design to continue cleanly all the way to the edge. That is when I use a facing.
Watch this video companion for more details about the process.
A quilt facing encloses the raw edges without adding a visible border to the front. You sew facing strips and corner triangles around the quilt’s perimeter, turn them completely to the back, and secure them. The result is a clean, modern edge—especially well suited to art quilts and wall hangings.
In this free tutorial, I’ll show you how to make and attach a facing for a smooth, professional finish. The corner triangles can also serve as pockets for a hanging dowel.
Watch the companion video for a closer look at the process.
Supplies
A quilted, trimmed, and squared quilt
Four 2½″-wide fabric strips, each cut 2½″ shorter than its corresponding quilt edge; leftover binding strips may also be used
Four 4″ or 5″ fabric squares; use larger squares if you would like wider hanging-dowel pockets
Sewing machine and thread
Hand-sewing needle and coordinating thread
Iron and pressing surface
Ruler and rotary cutter or scissors
Fabric clips or pins
Blunt point turner
Optional: permanent, double-sided fusible hem tape rated for fabric
If you use fusible hem tape, test it first and follow the manufacturer's instructions. If the quilt will be washed, confirm that the product is washable.
Construction Steps
1. Prepare the facing strips
Cut four 2½″-wide fabric strips, one for each quilt edge. Cut each strip 2½″ shorter than the edge it will face.
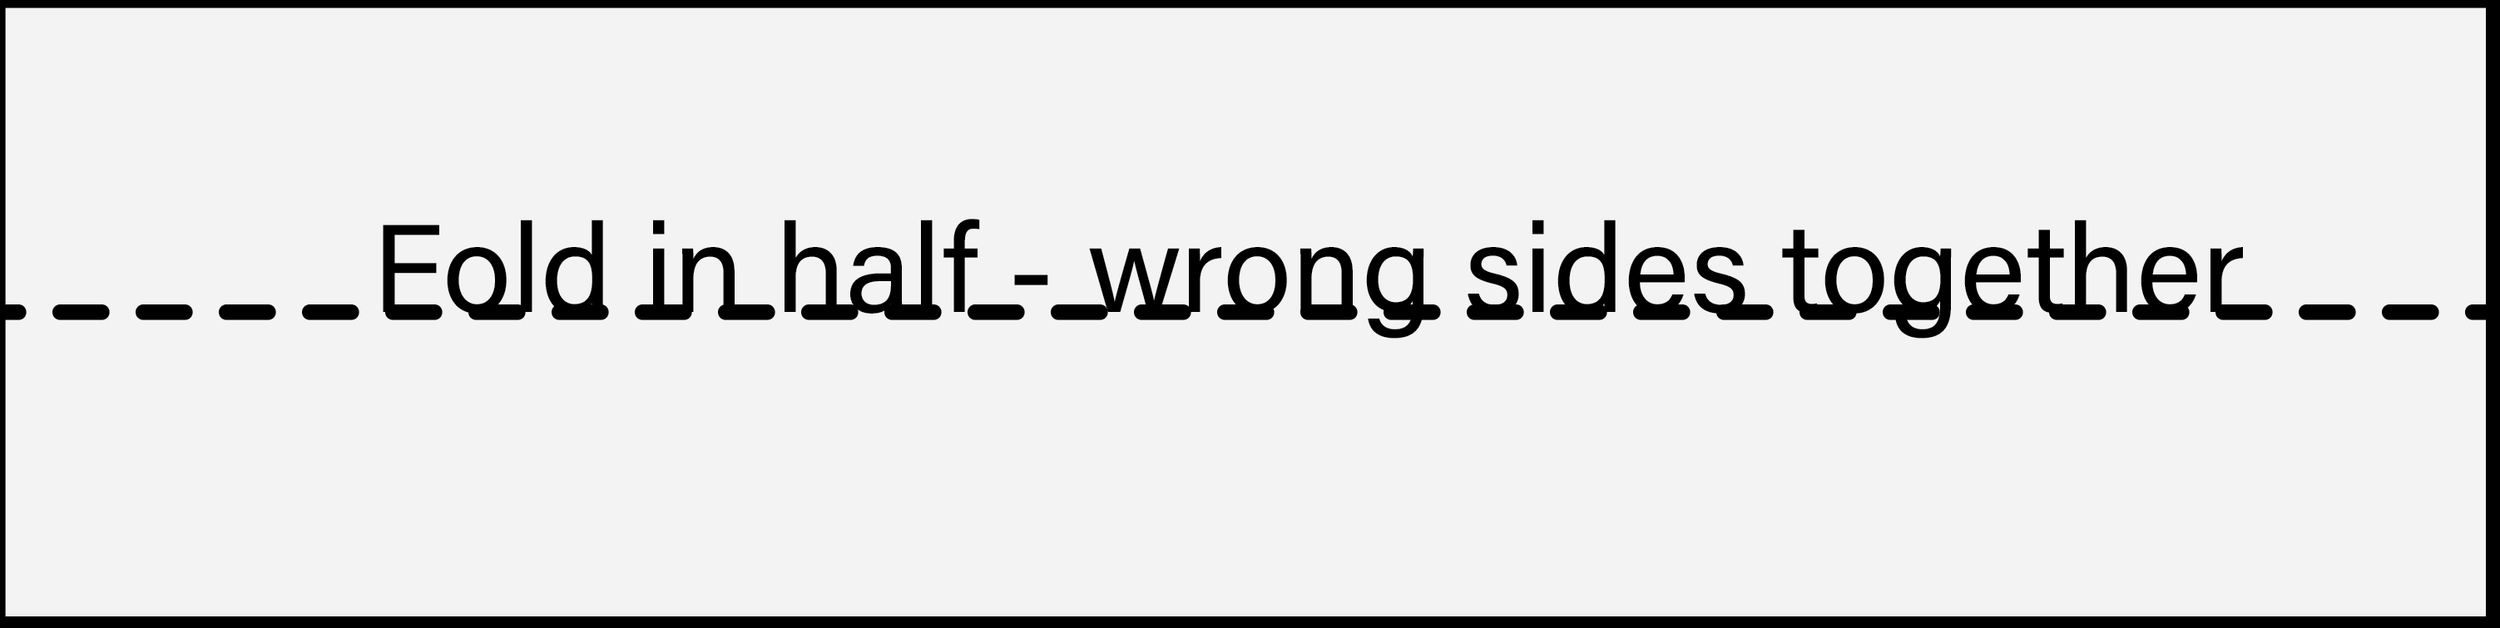
Fold each strip in half lengthwise with the wrong sides together, then press. If you are using leftover binding strips that are already folded in half, simply cut them to the required length.
2. Make the corner triangles
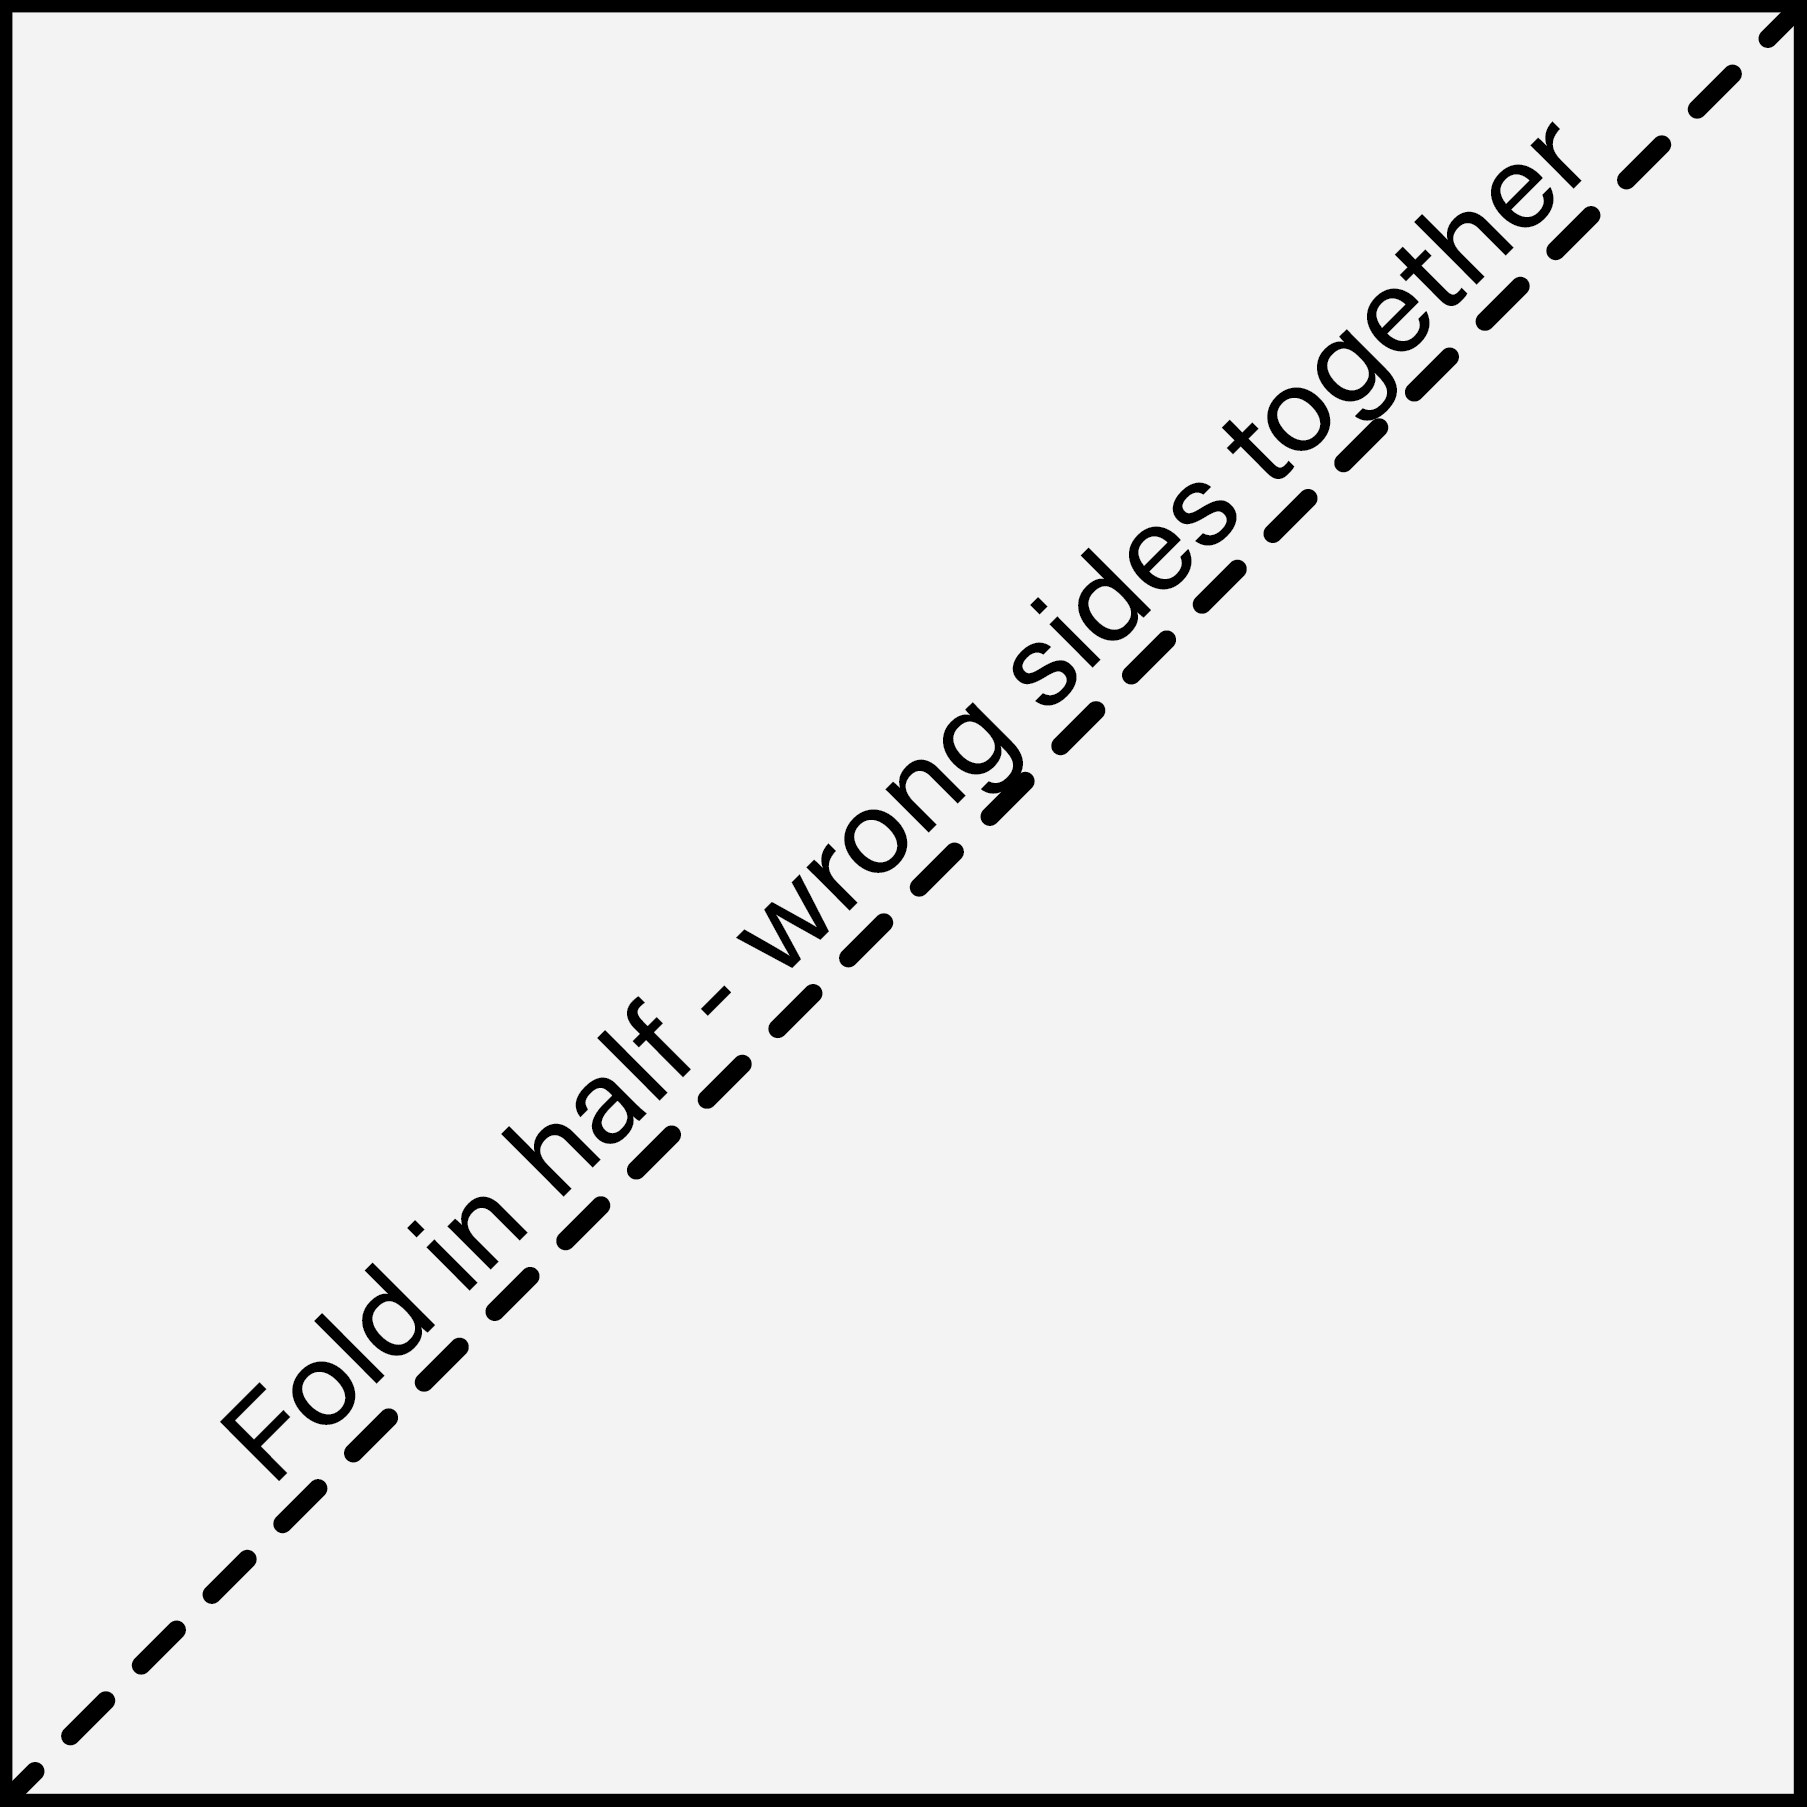
Cut four 4″ or 5″ fabric squares. Fold each square diagonally in half, wrong sides together, then press to form a triangle.
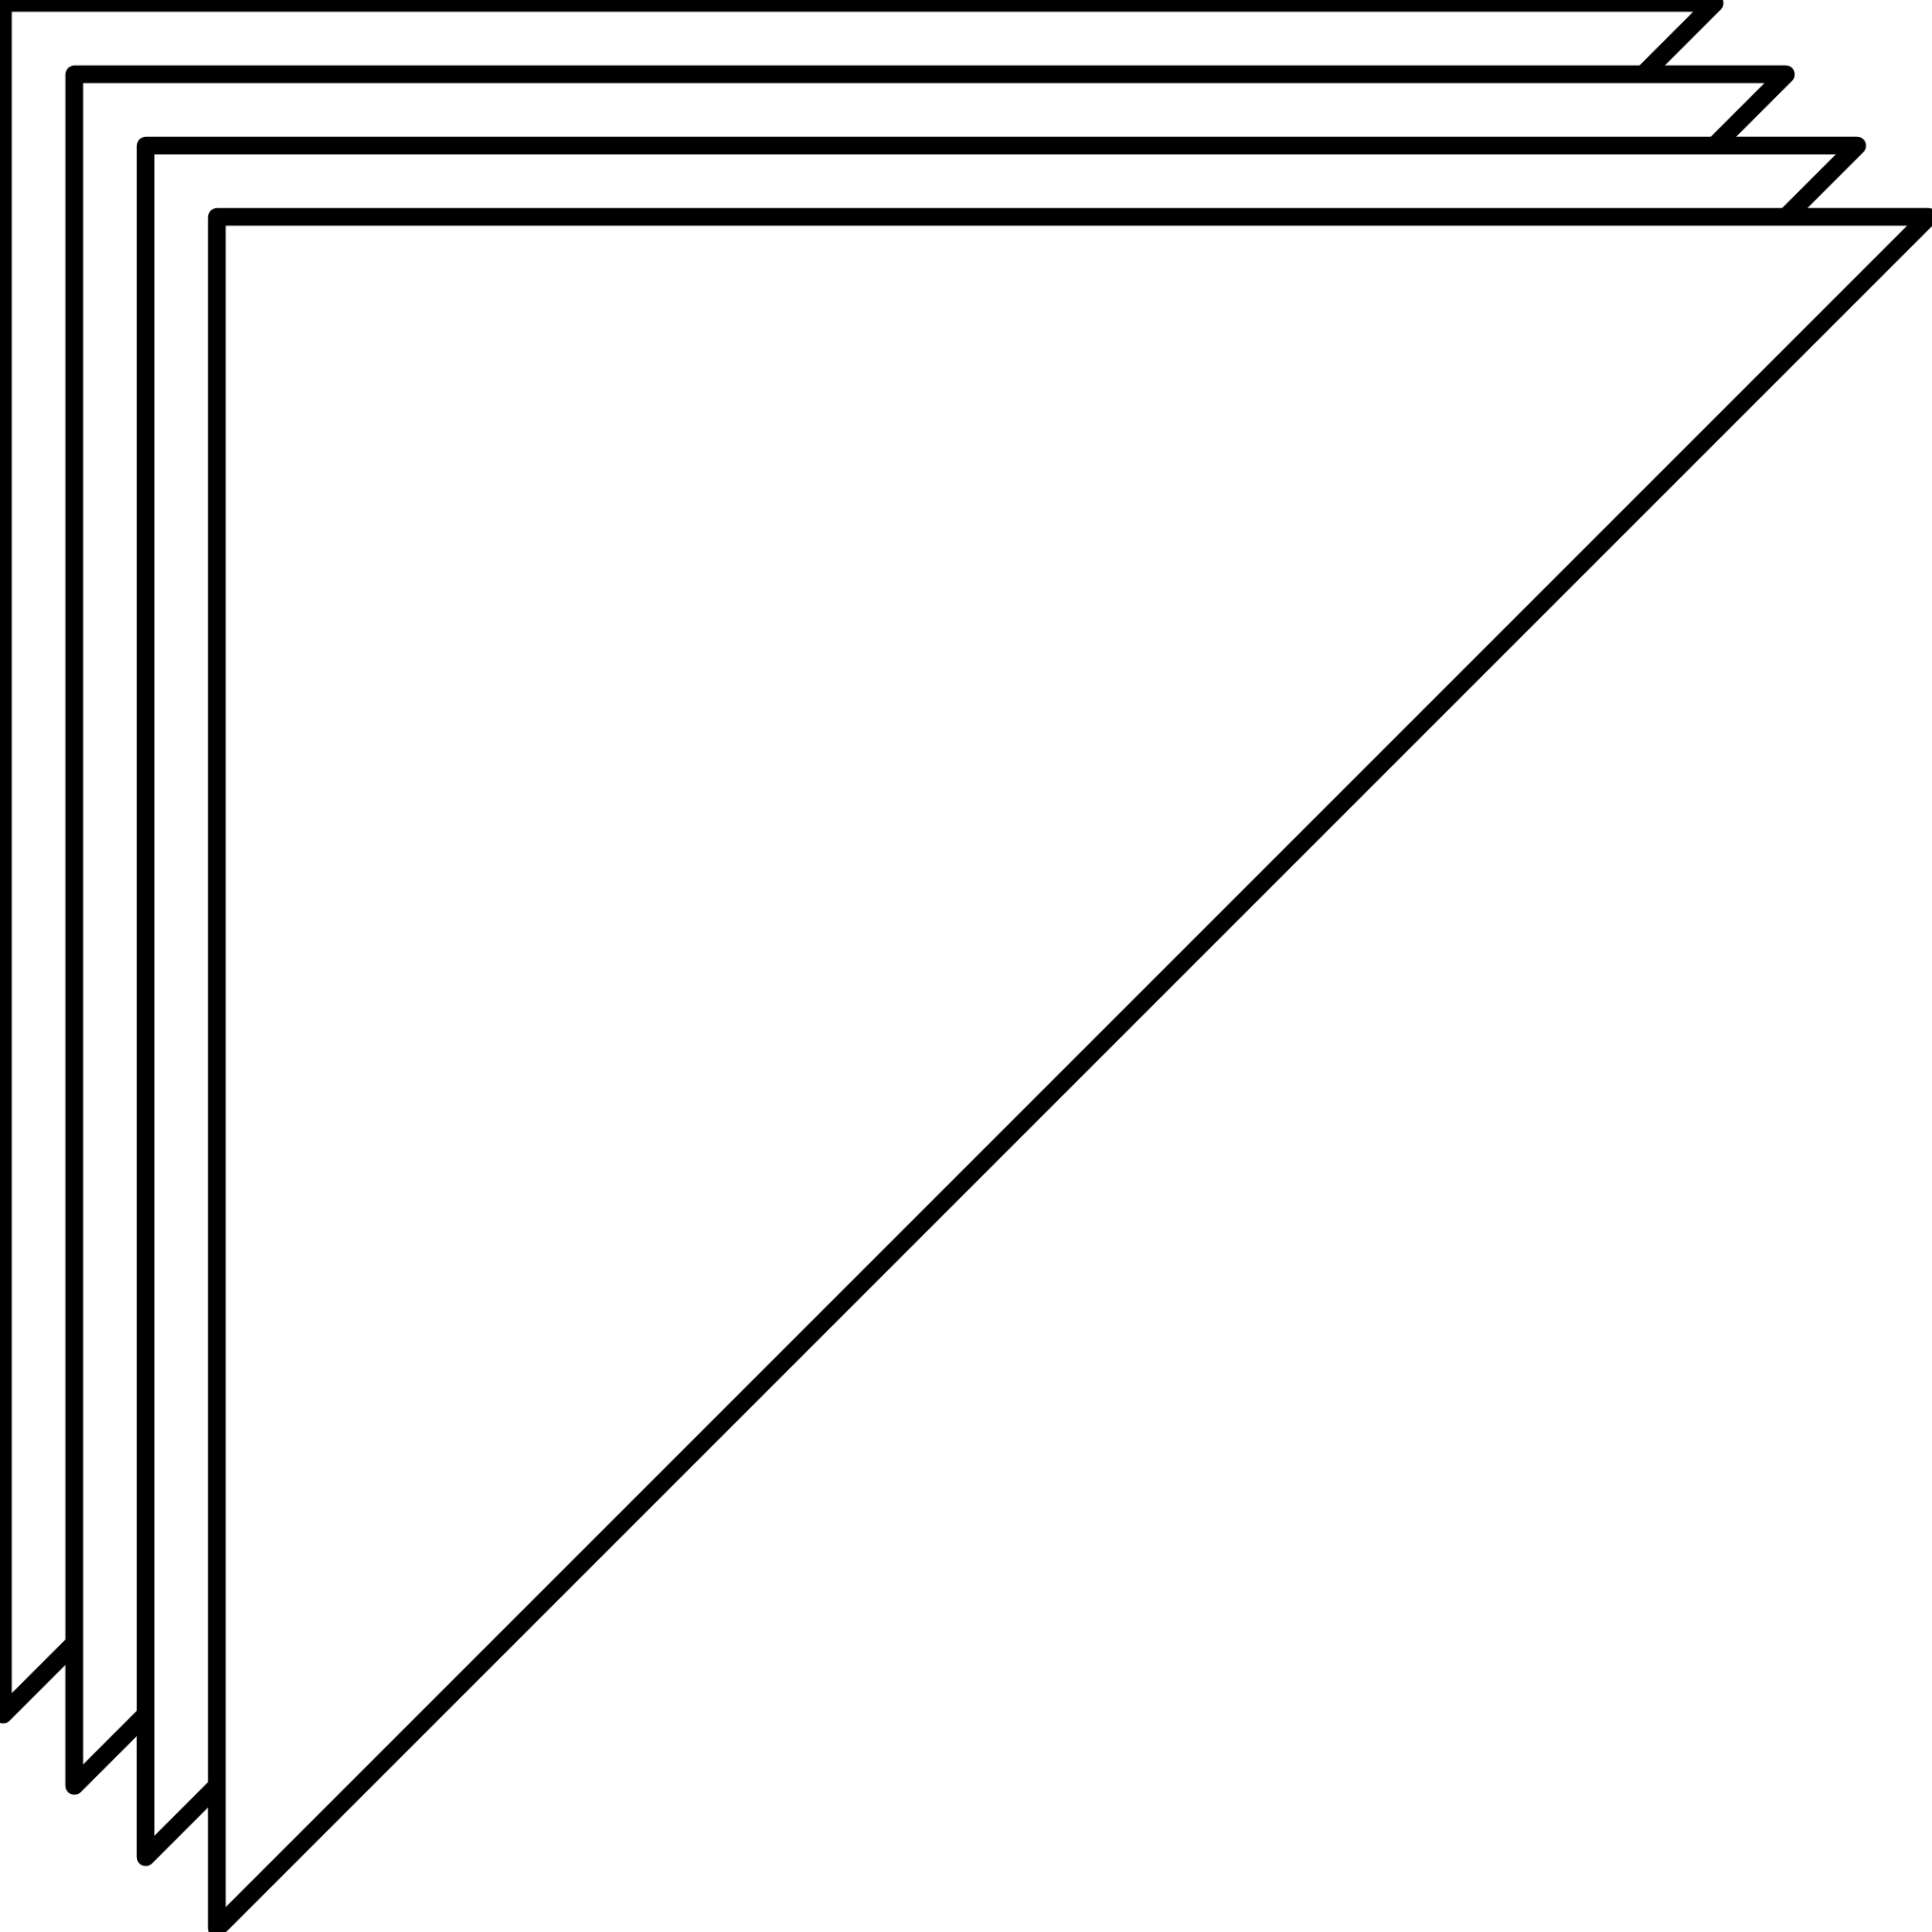
You should now have four folded corner triangles.
3. Position the quilt
Place the quilt right side up on a flat surface.
4. Add the corner triangles
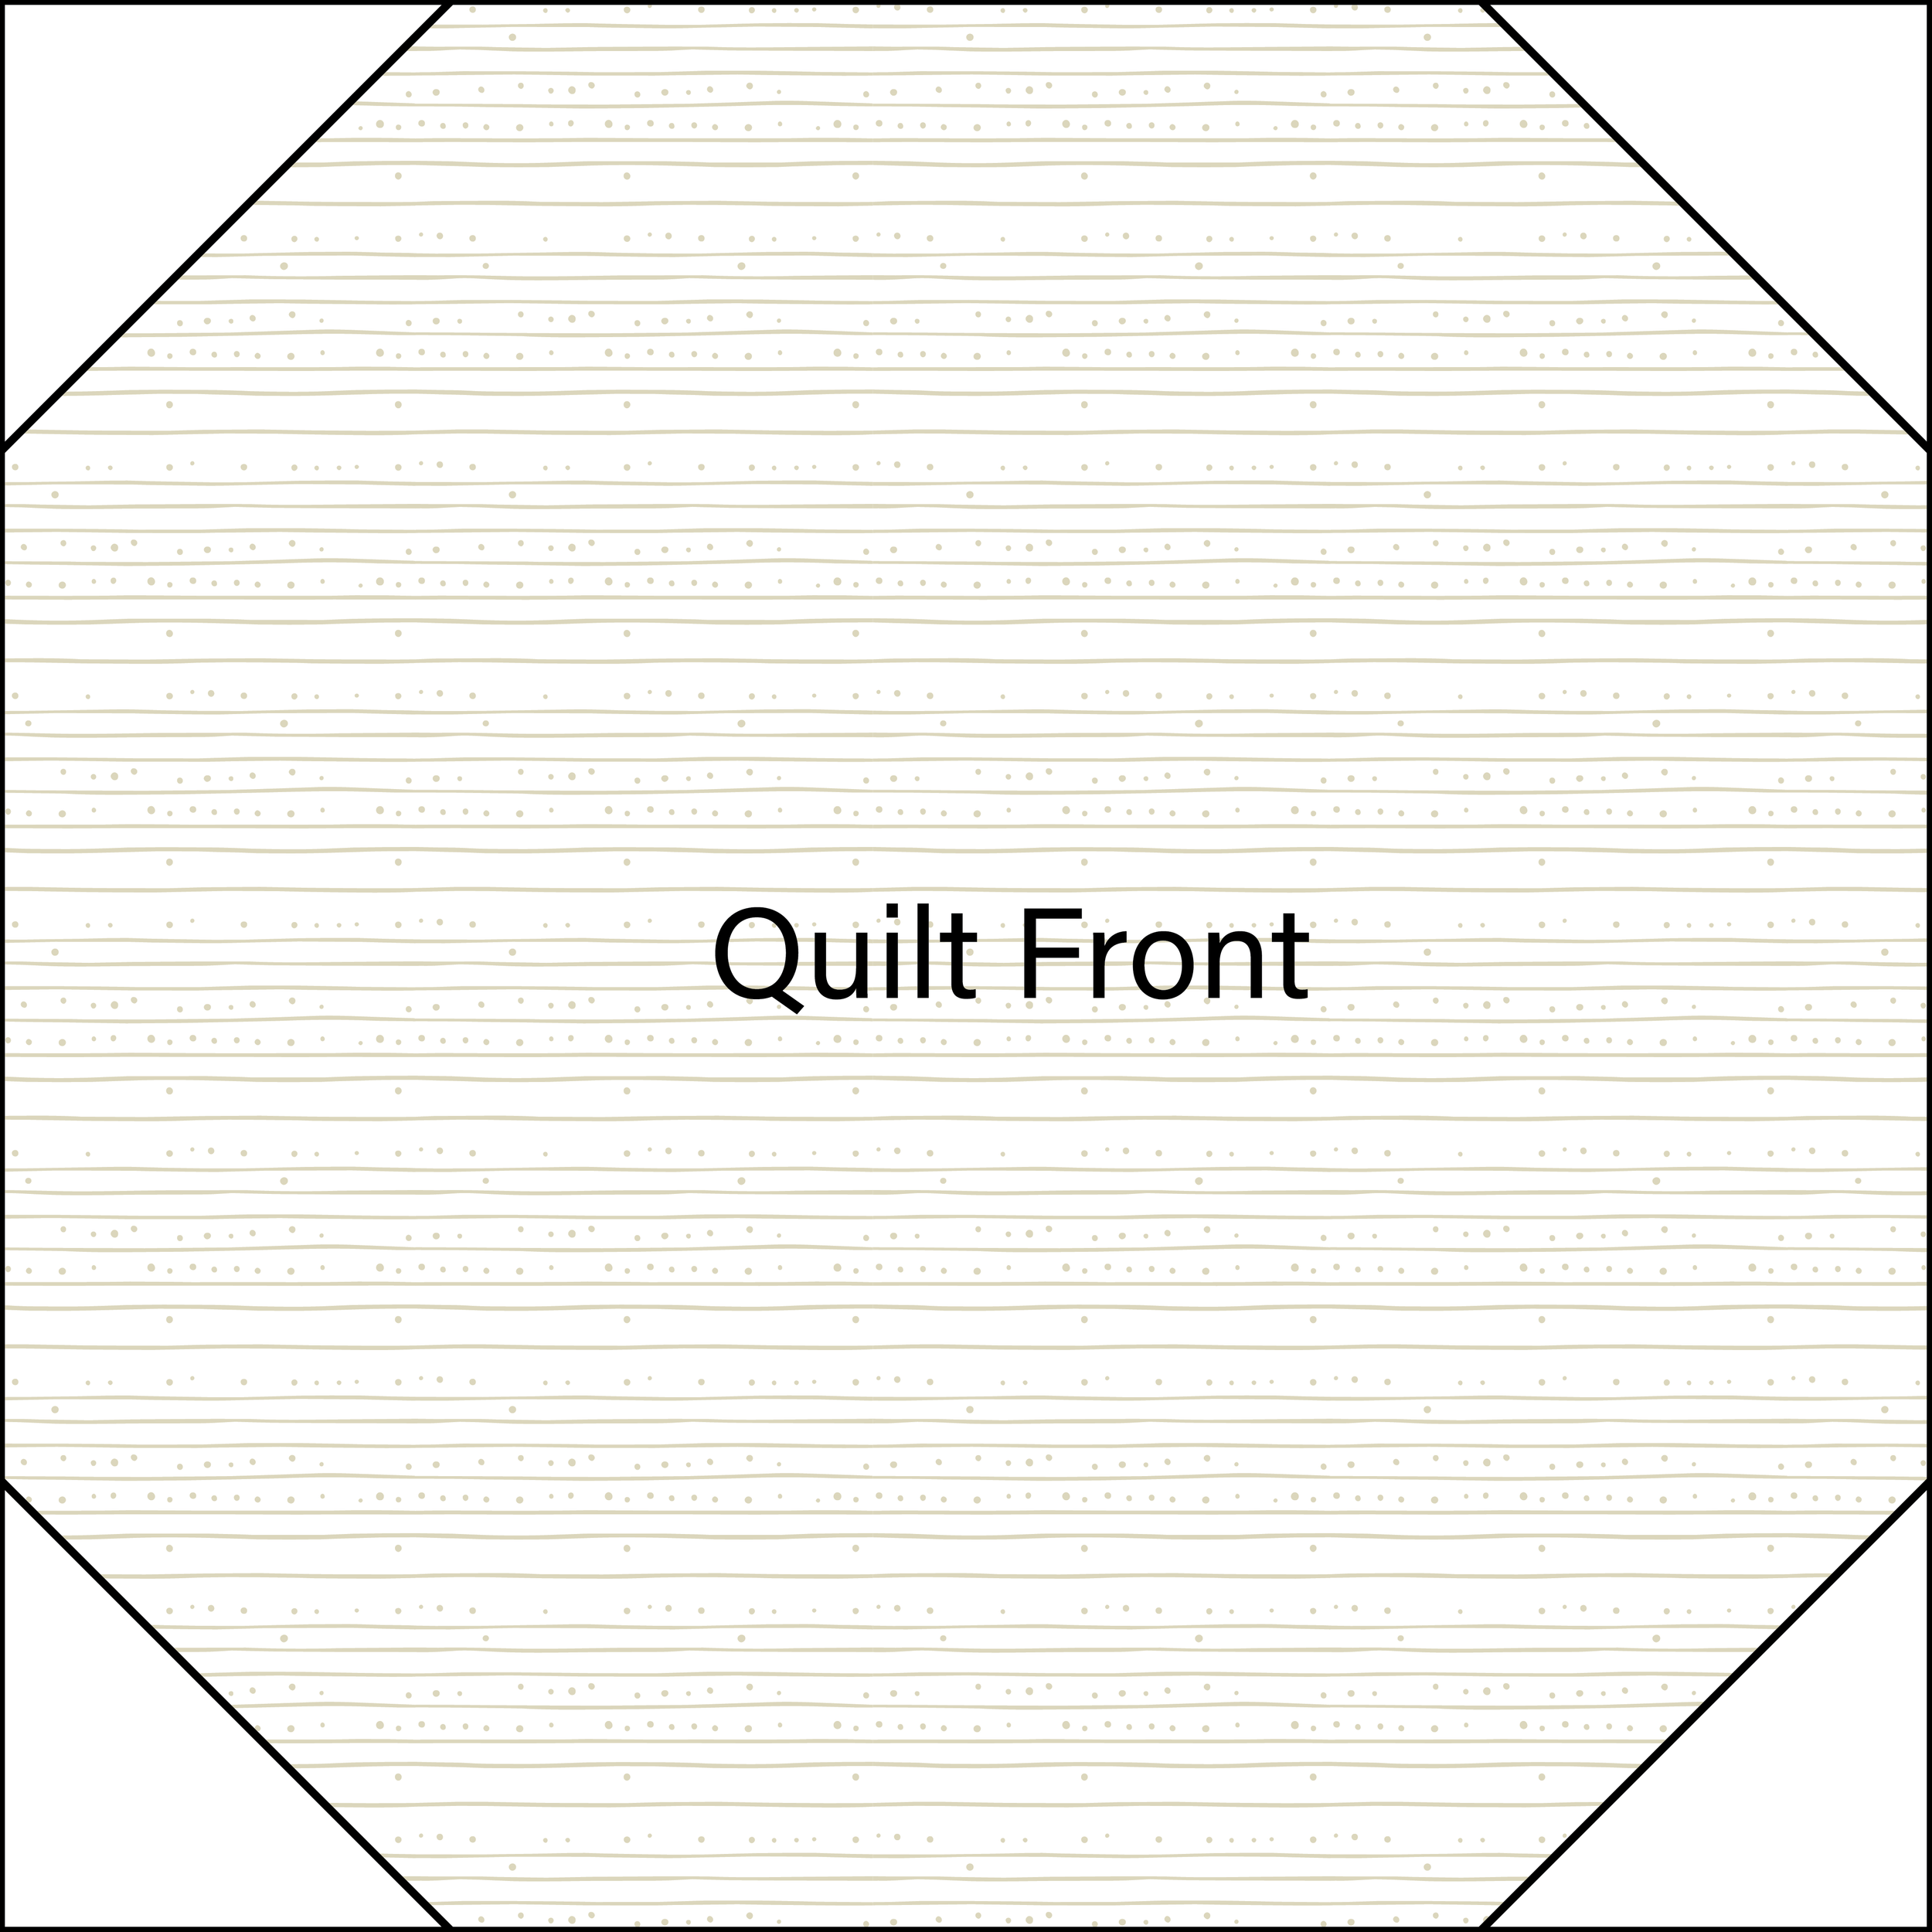
Position one folded triangle at each corner. Align the triangle's raw edges with the quilt's raw edges. Point the folded diagonal edge toward the center of the quilt.
5. Position the facing strips and sew around the quilt

Center one folded facing strip along each quilt edge, placing the strips on top of the corner triangles. Align each strip's raw edge with the quilt's raw edge, leaving an equal amount of space at both ends. Clip or pin all the pieces in place.
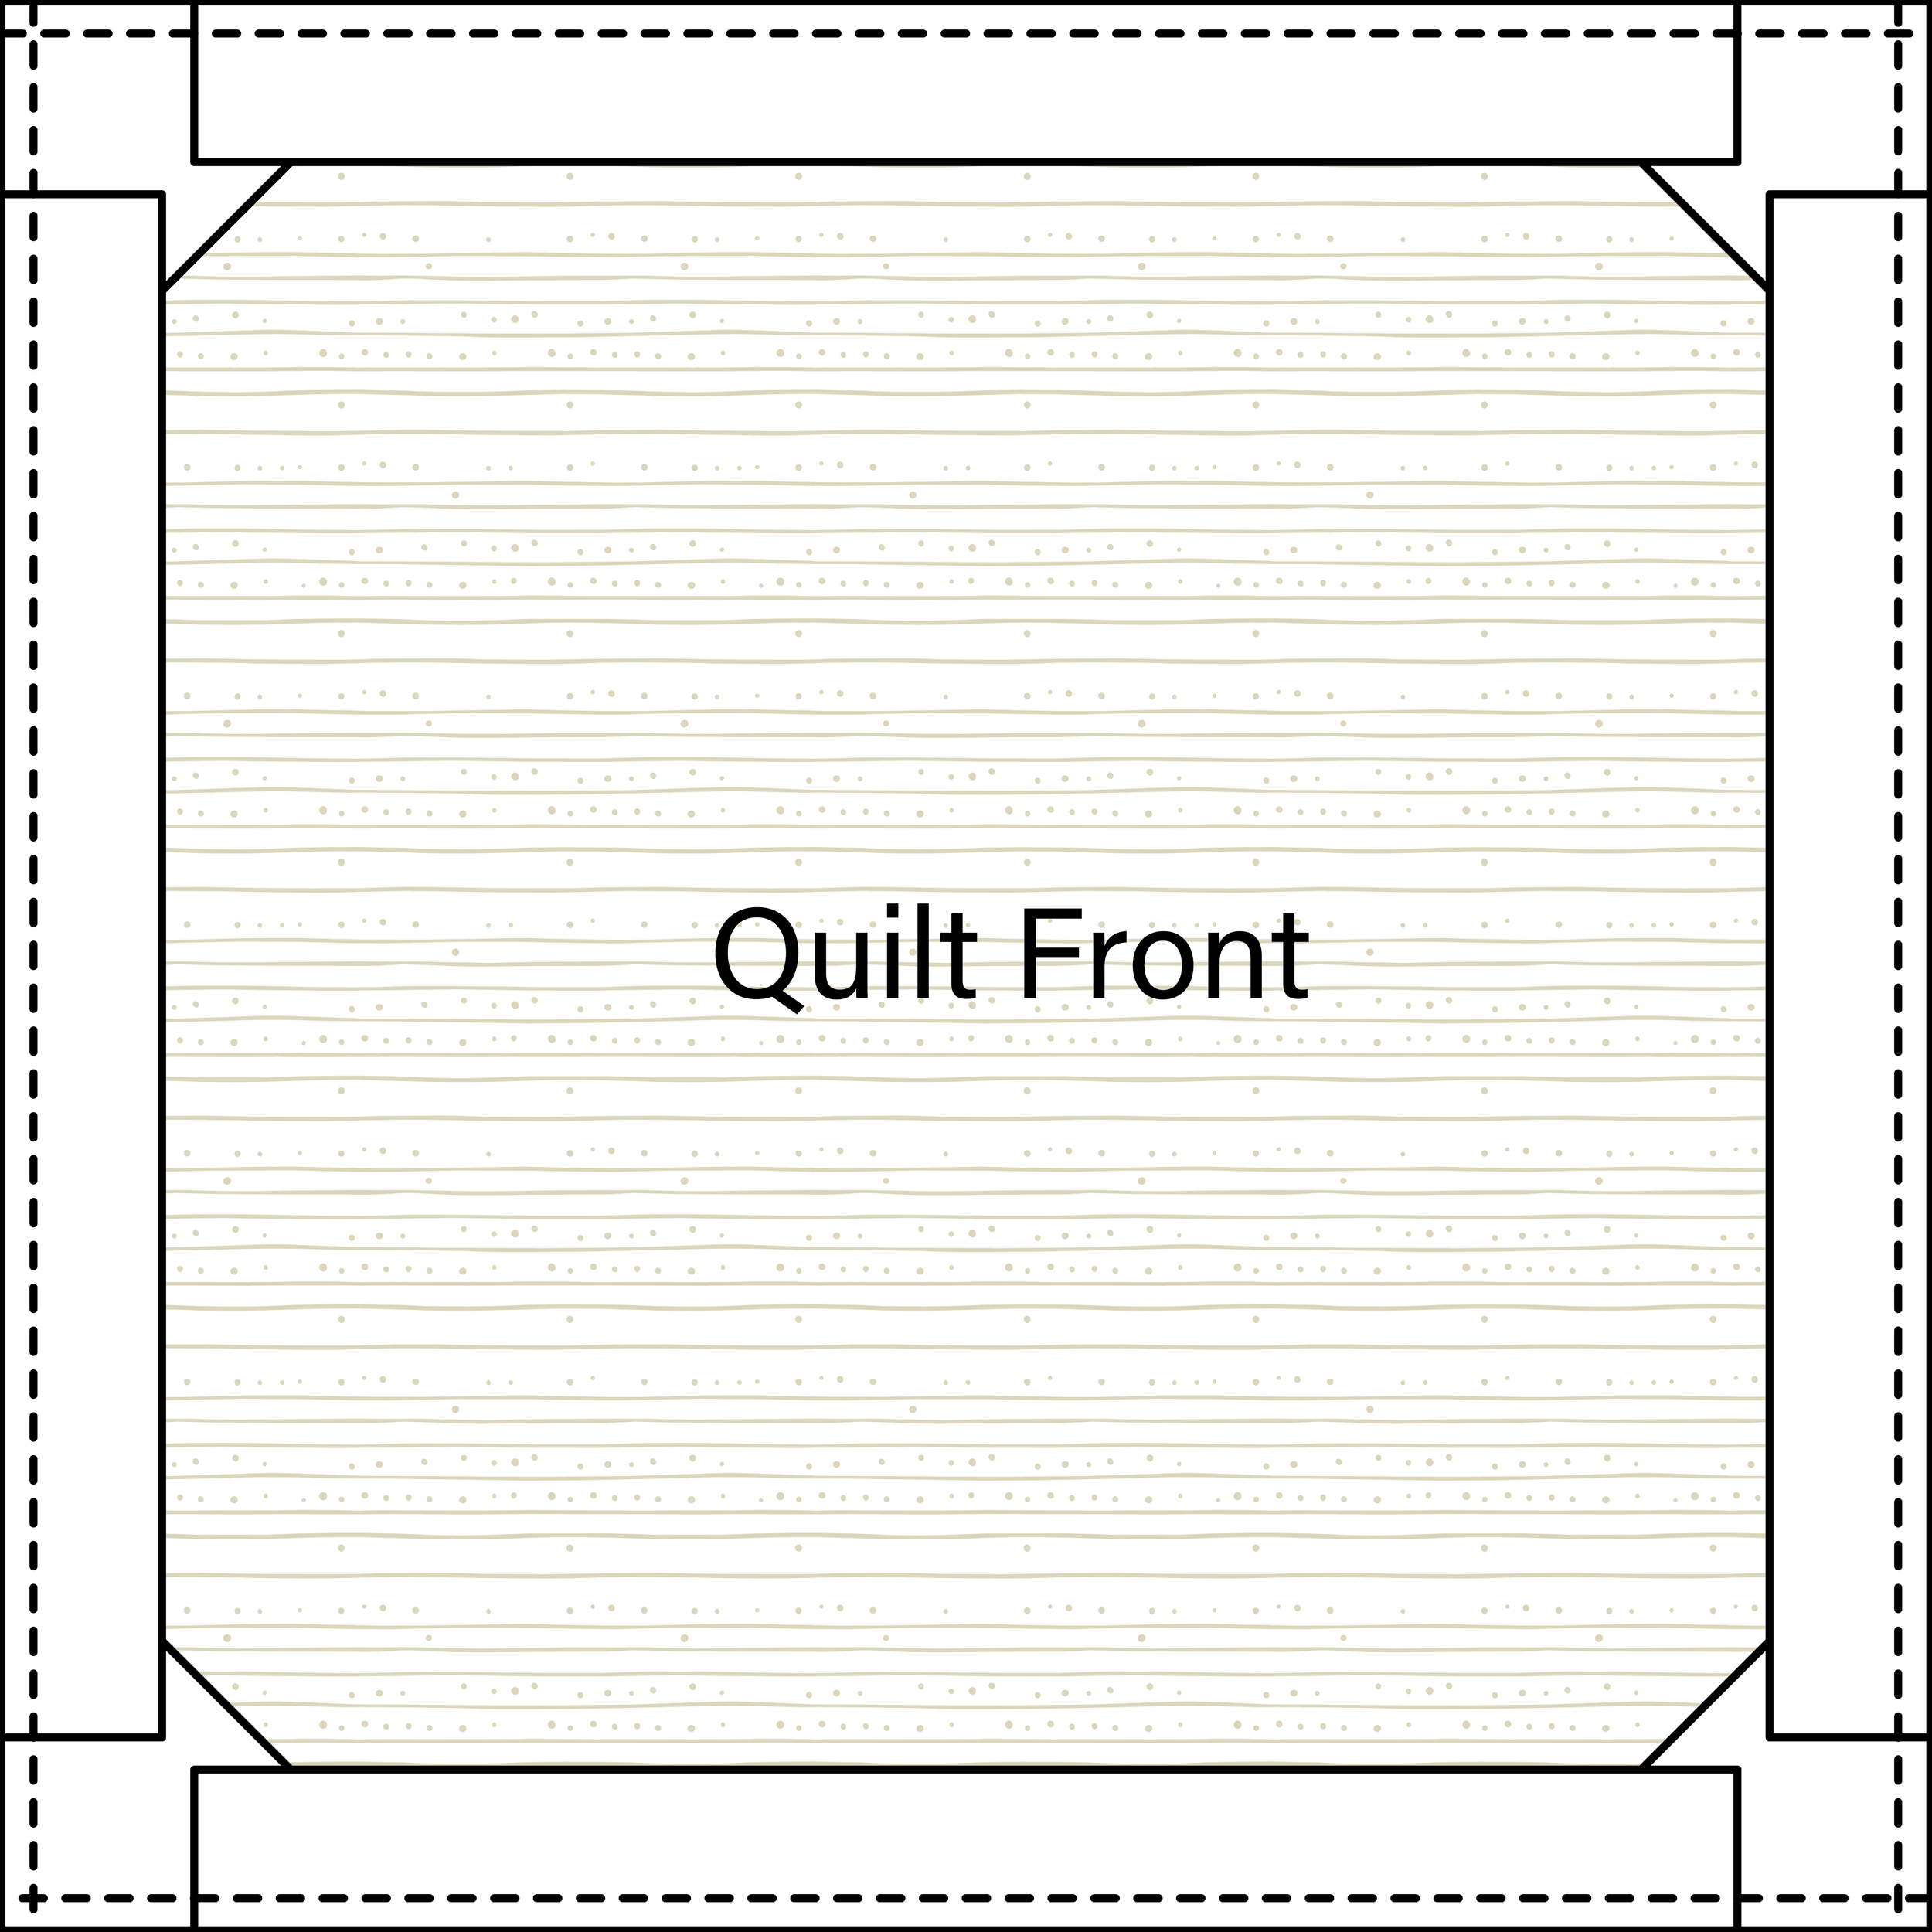
Using a ¼″ seam allowance, sew around the entire quilt perimeter to secure the facing strips and corner triangles. Stop with the needle down and pivot at each corner.
6. Press the facing strips away from the quilt, understitch and trim corners
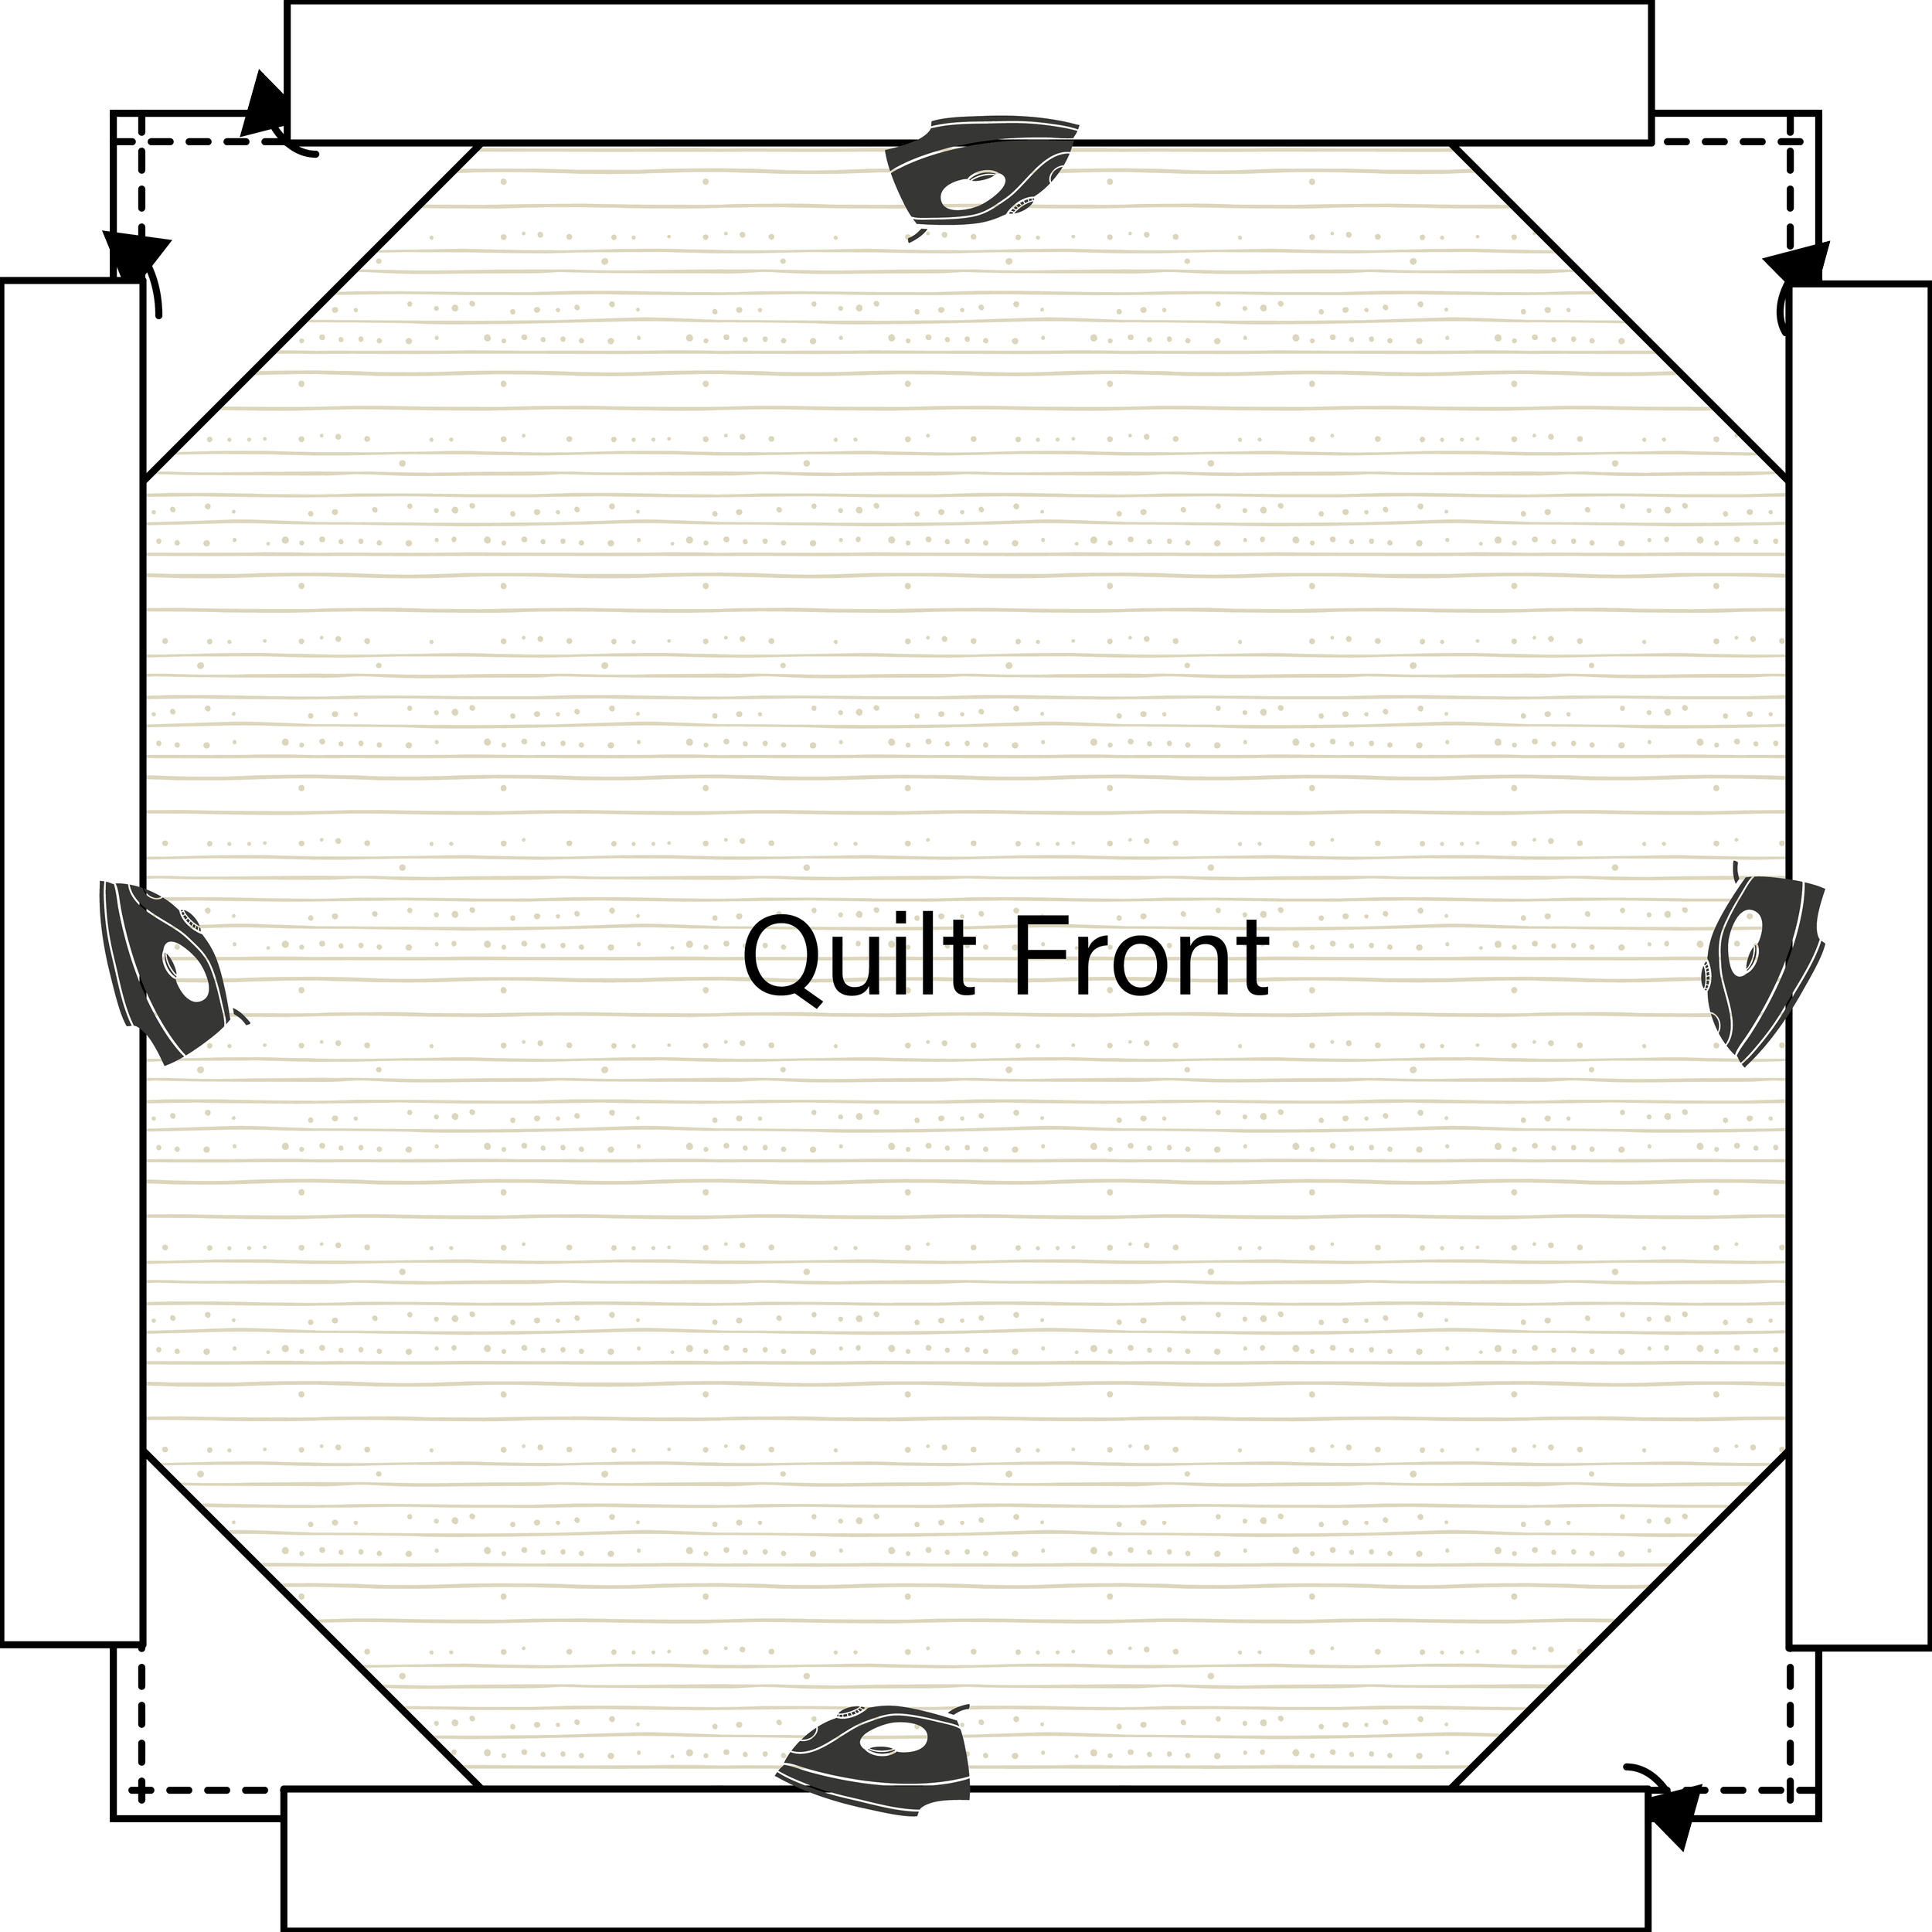
Press each facing strip away from the quilt. Do not turn the corner triangles to the back yet.

Understitch each facing strip approximately ⅛″ from the seam, sewing through the facing strip and seam allowances only. Do not stitch across the corner triangles.
Trim the corners to reduce bulk, taking care not to cut through the stitching.
7. Turn the corner triangles, turn and press the facing strips
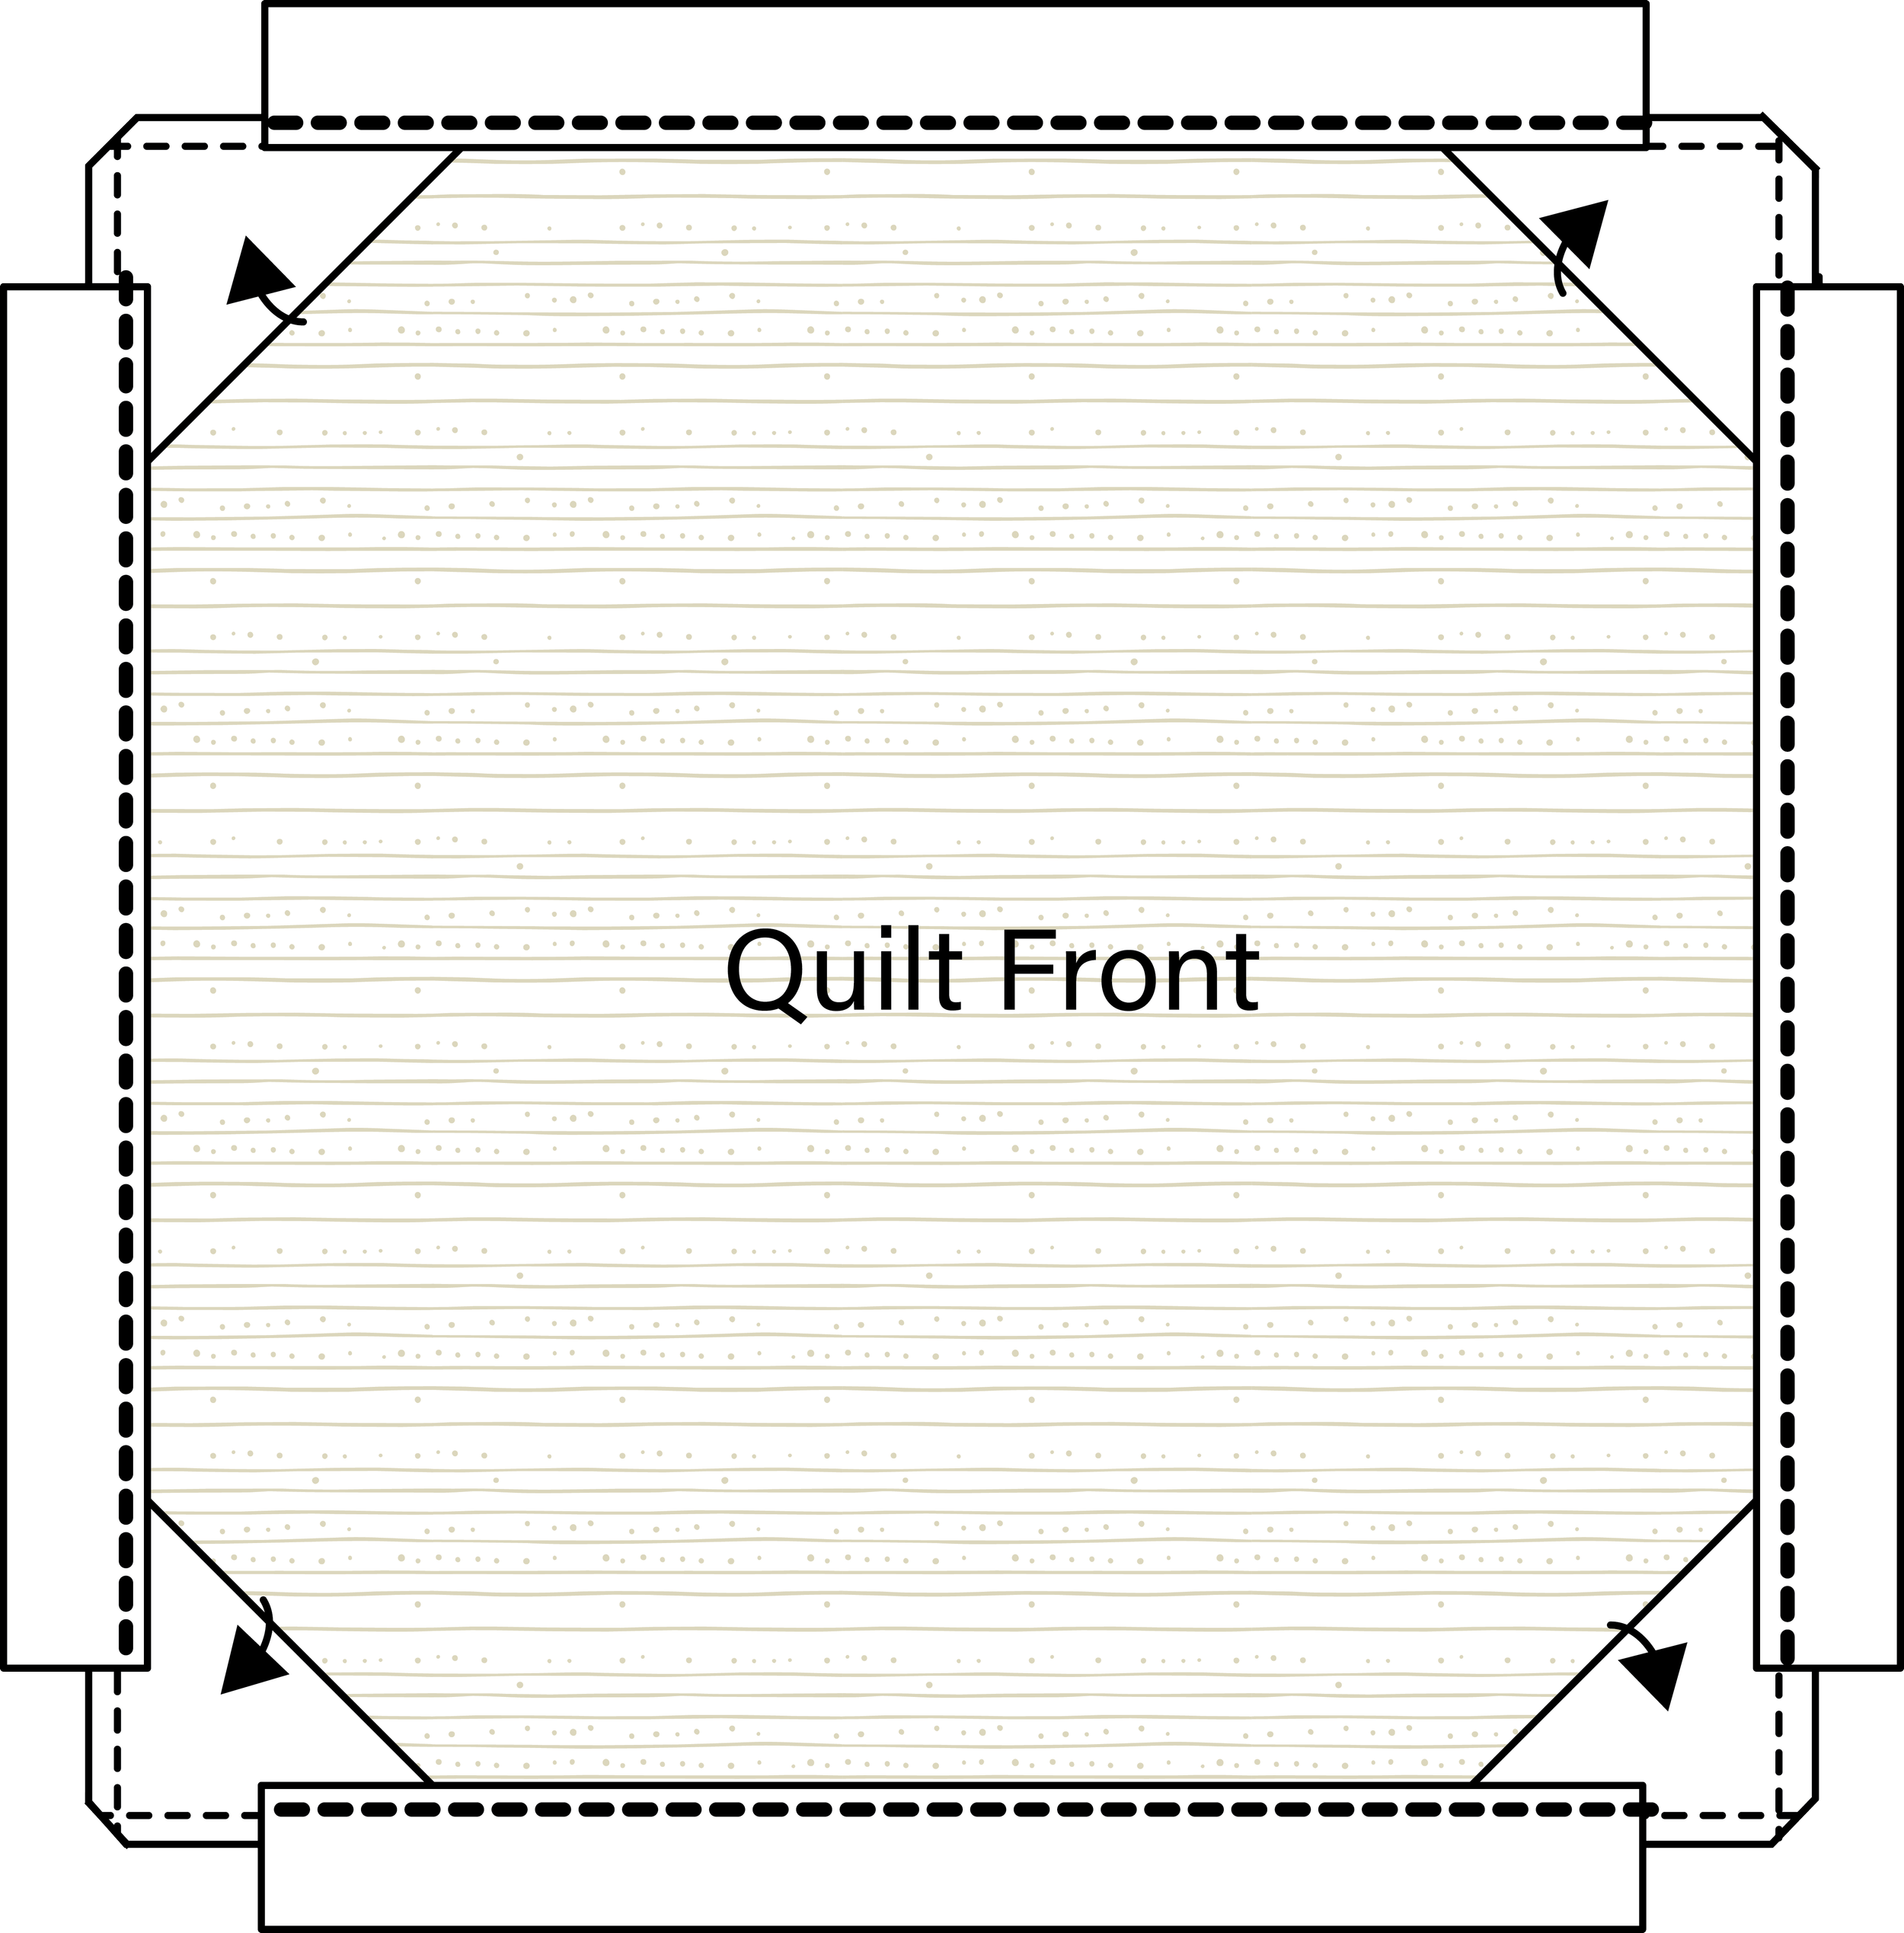
Turn all four corner triangles to the back of the quilt. Use a blunt point turner to shape the corners gently.
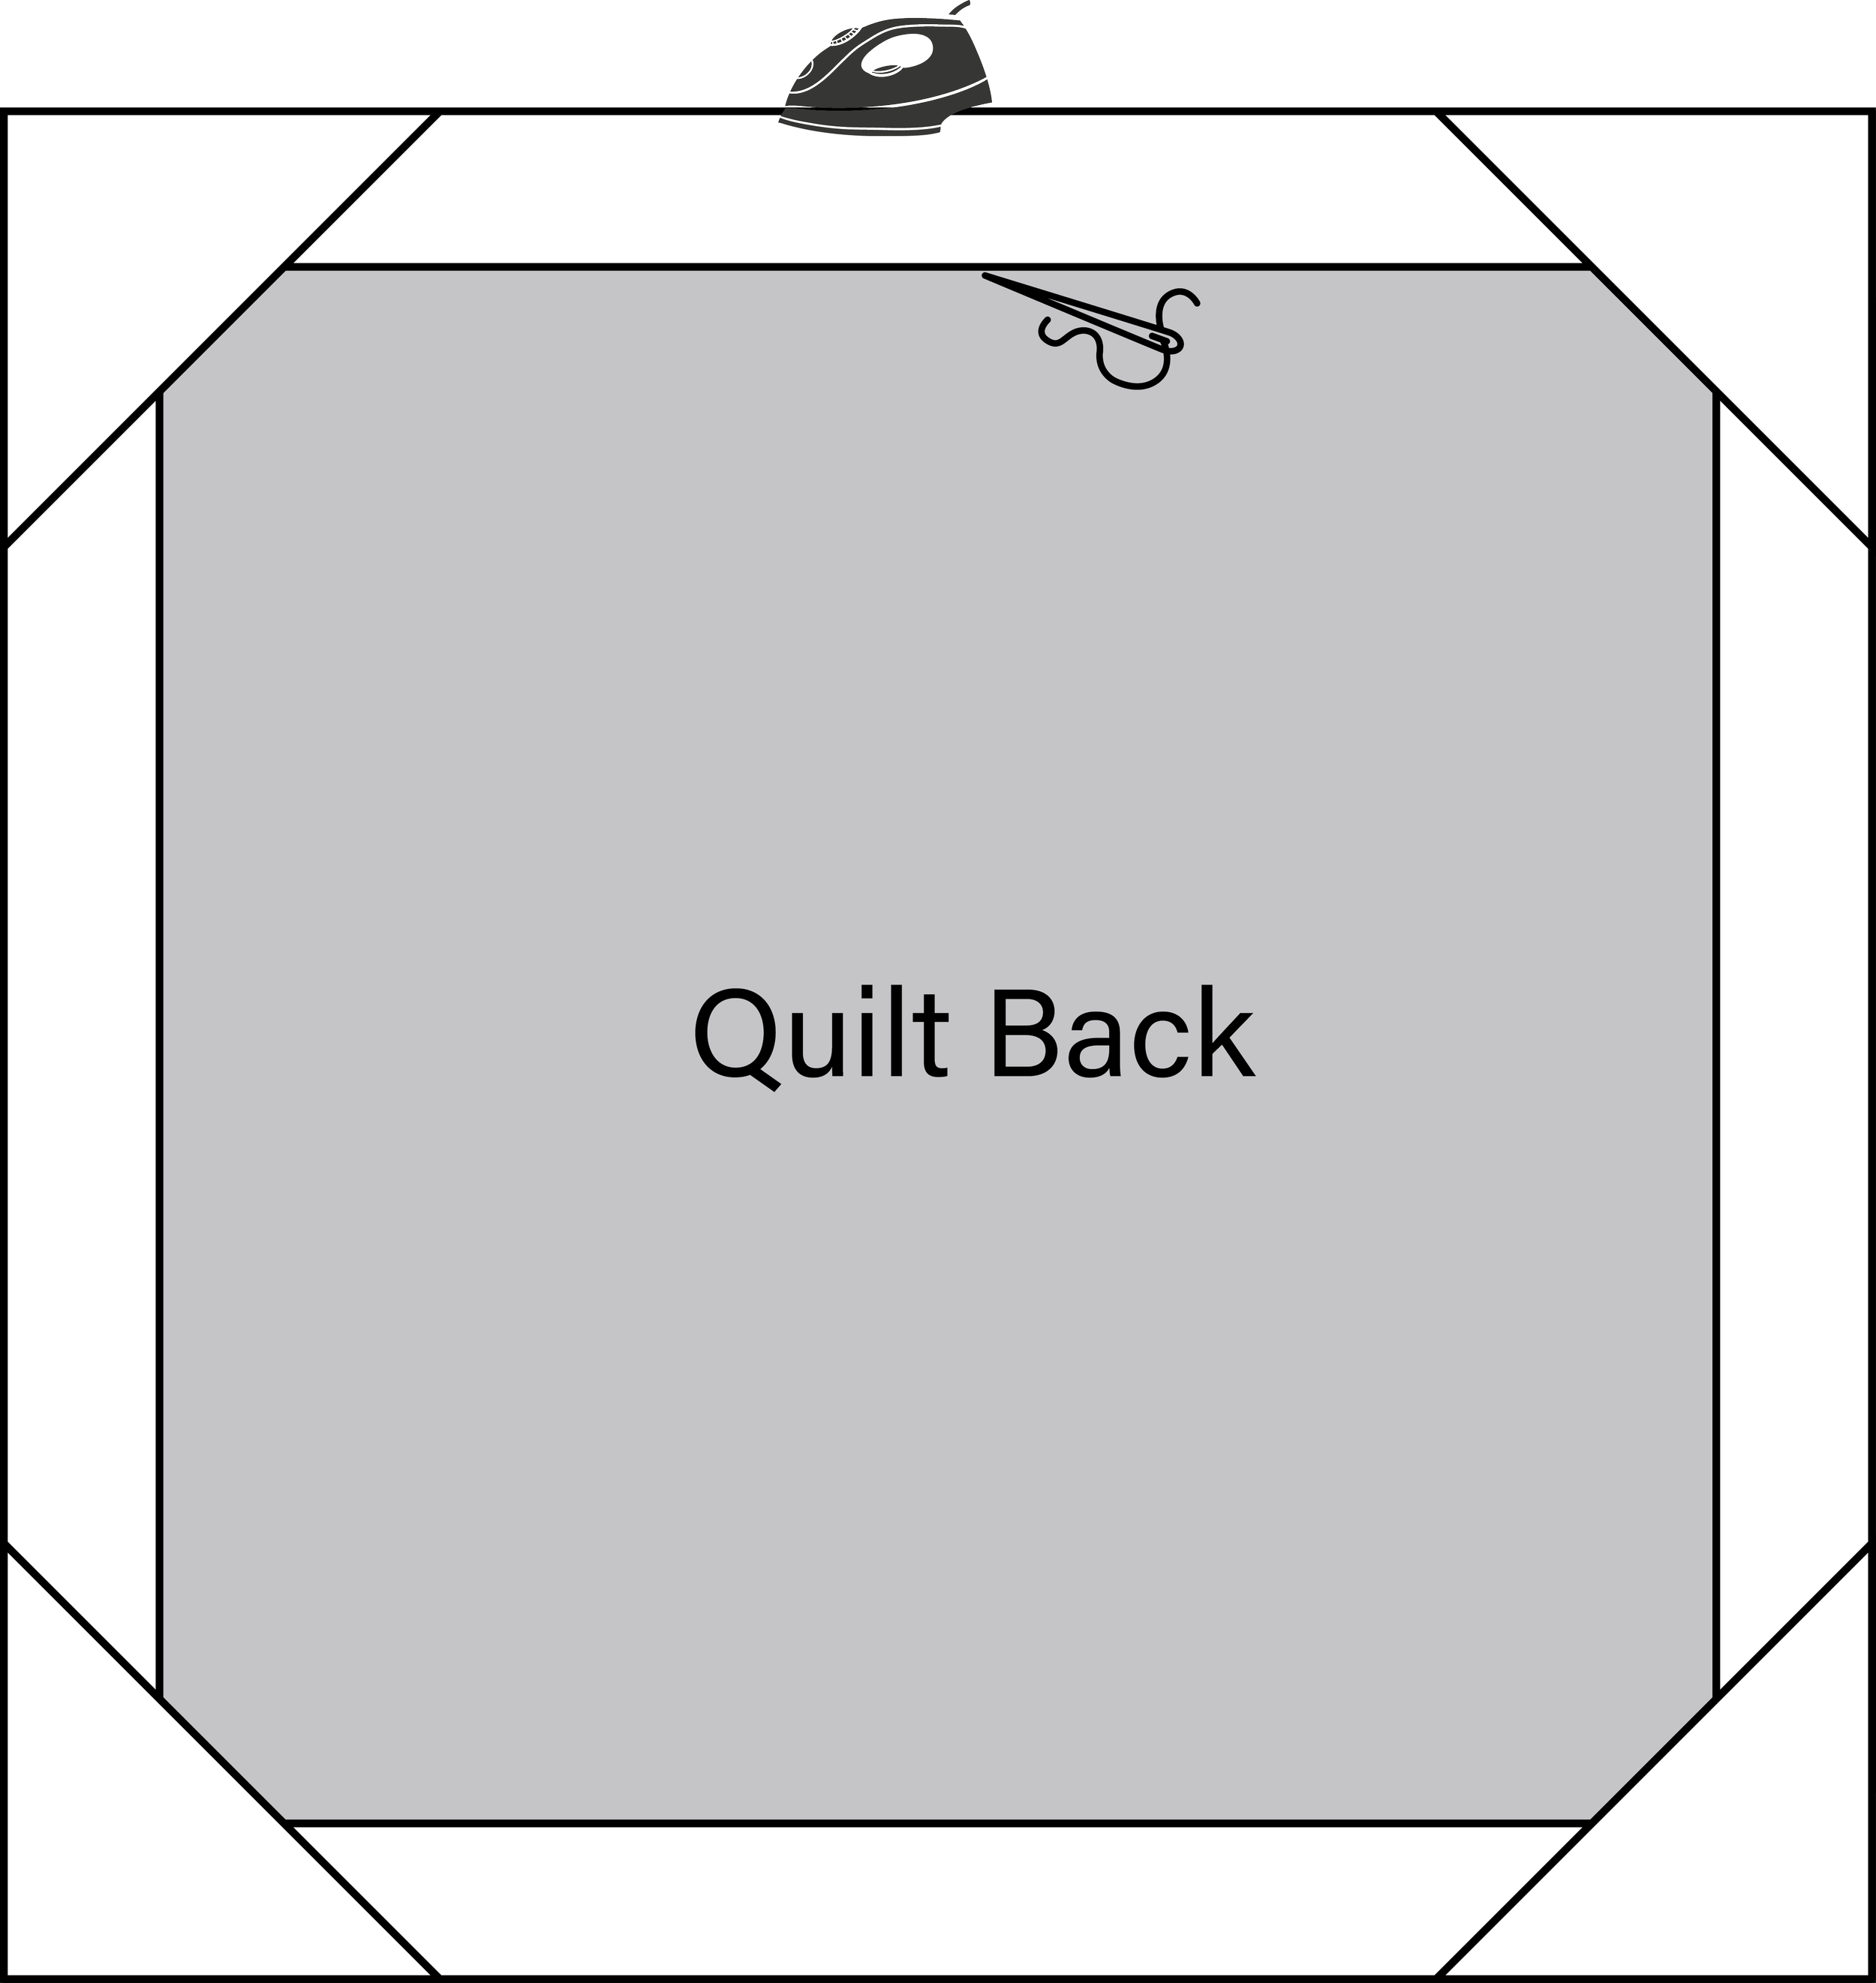
Turn the four facing strips to the back of the quilt. Roll each seam slightly toward the back so the facing is not visible from the front, then press carefully.
8. Secure the facing
Slip-stitch the folded inner edge of each facing strip to the quilt back. Catch only the backing and batting so the stitches do not show on the front.
Stitch the folded diagonal edges of the two lower corner triangles in place. If you would like to use the upper corner triangles as hanging-dowel pockets, leave their folded diagonal edges open. Otherwise, stitch them down as well.
You may use fabric-safe fusible hem tape instead of hand stitching. Follow the manufacturer's instructions, and do not fuse the openings of any corner pockets that will hold a dowel.
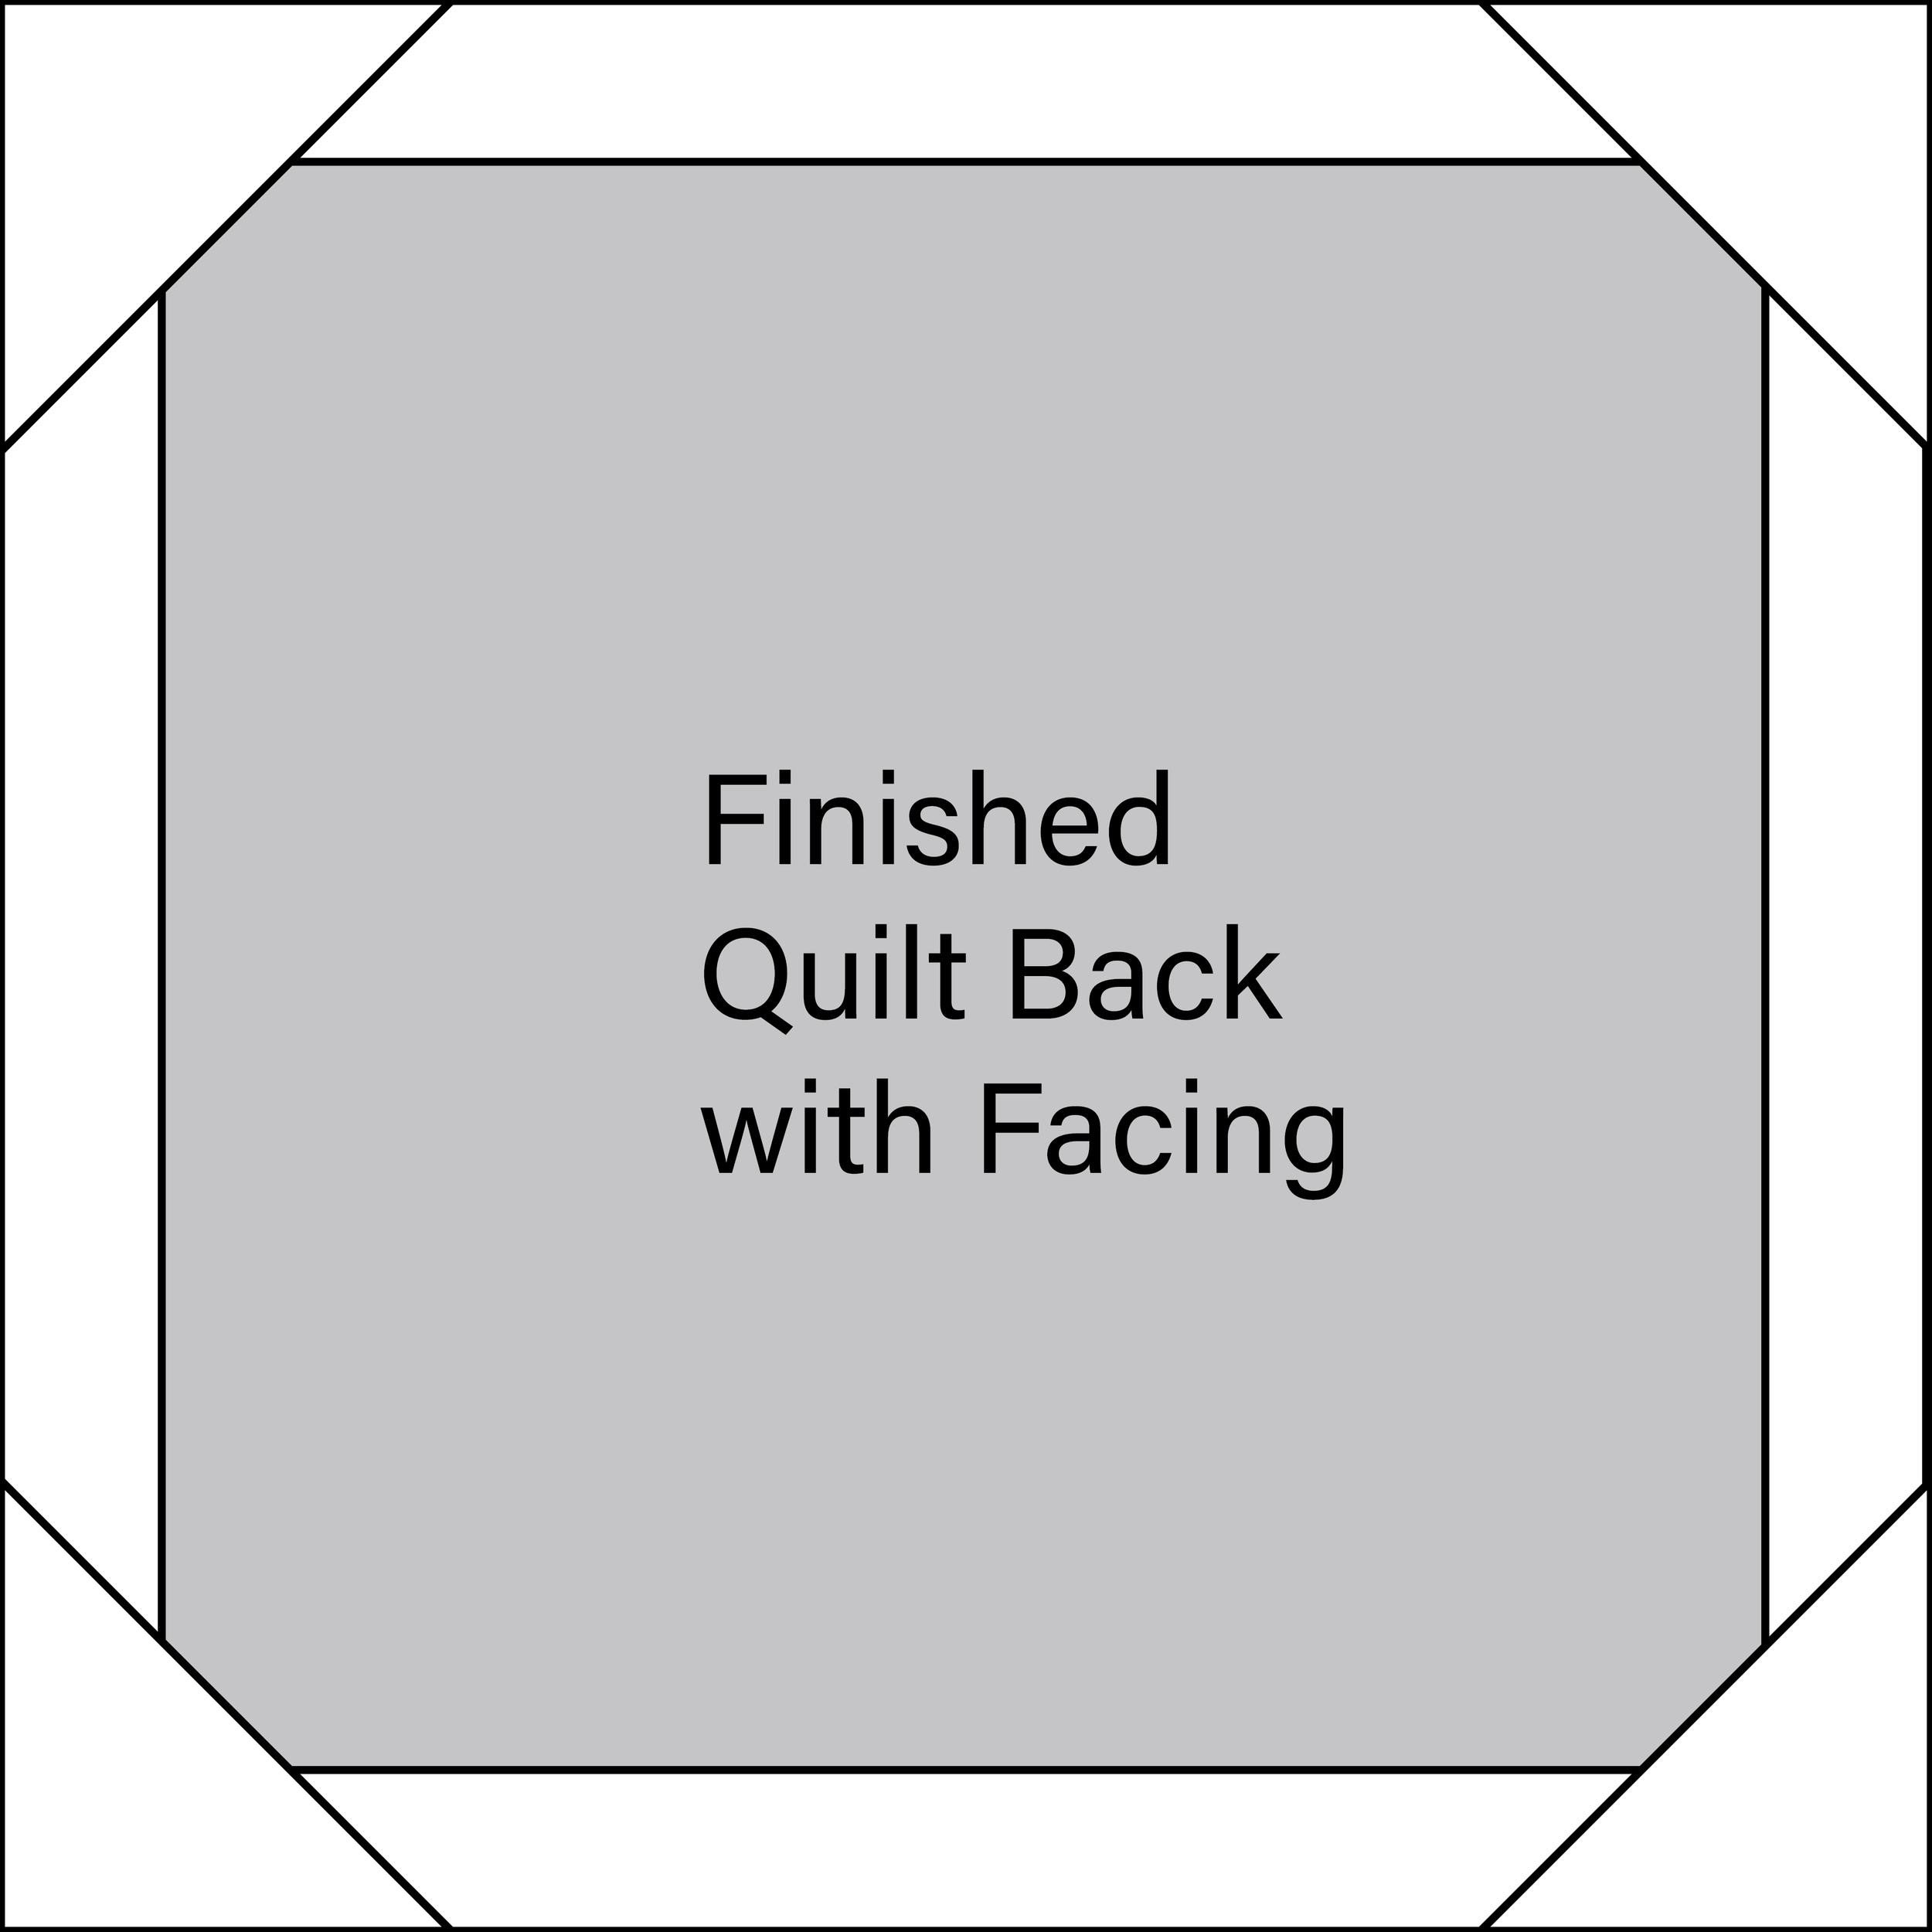
Once the facing is secured, check the quilt from the front. The facing should stay completely hidden, letting the quilt design extend cleanly to the edge.
Watch the companion video above to see the layer placement, understitching, corner turning, and hand finishing demonstrated step by step.
If you use this tutorial, I would love to see what you make. Share your finished quilt and tag Kelli Fox Designs so I can celebrate your work.
Click below for the PDF of the Tutorial: