
My Favorite Trick for FASTER Piecing: Nesting Seams
Every quilter has that one technique that quietly makes everything easier — the little habit that instantly improves accuracy and makes your blocks look cleaner with less effort. For me, that trick is nesting seams. It’s simple, beginner-friendly, and genuinely transforms your piecing, especially in geometric quilt patterns like La Ventana, Urbe, Caminos, Cruce, and Arista.
A quick overview of nesting seams.
What Are Nesting Seams (and Why I Love Them)?
Nesting seams means pressing your seam allowances in opposite directions on the blocks or rows you’re about to sew together. When you place the pieces right sides together, the seams naturally “lock” into place. You can actually feel them butt together - no shifting, no guessing, misaligned seams.
It’s one of those techniques that gives you cleaner points, straighter lines, and smoother piecing without slowing you down. Honestly? It’s a game-changer.
How I Incorporate Nesting Seams Into My Quilt Patterns
When I design a quilt pattern, I focus on making it easy and stress-free to sew. Clean intersections matter, of course, but so does the process of getting there. That’s why I build nesting seams directly into the structure of most of my patterns. As I write the pressing directions - especially in designs like La Ventana, Urbe, Caminos, and Cruce -I plan each step so the seams naturally fall in opposite directions. Technically, this creates those “nesting” seams that help your blocks line up with almost no effort. I love that quilters can pick colors, sew the pattern, and see their design come to life without stressing about matching seams. Nesting is a simple technique, but when it’s intentionally built into the pattern, it makes the whole sewing process smoother and more enjoyable.
How to Nest Seams (Step-by-Step)
1. Press Seams in the Opposite Directions
After sewing your blocks or strips, press the seams of the joining blocks in opposite directions. This opposite pressing creates the butting seams that “lock” or “nest.”
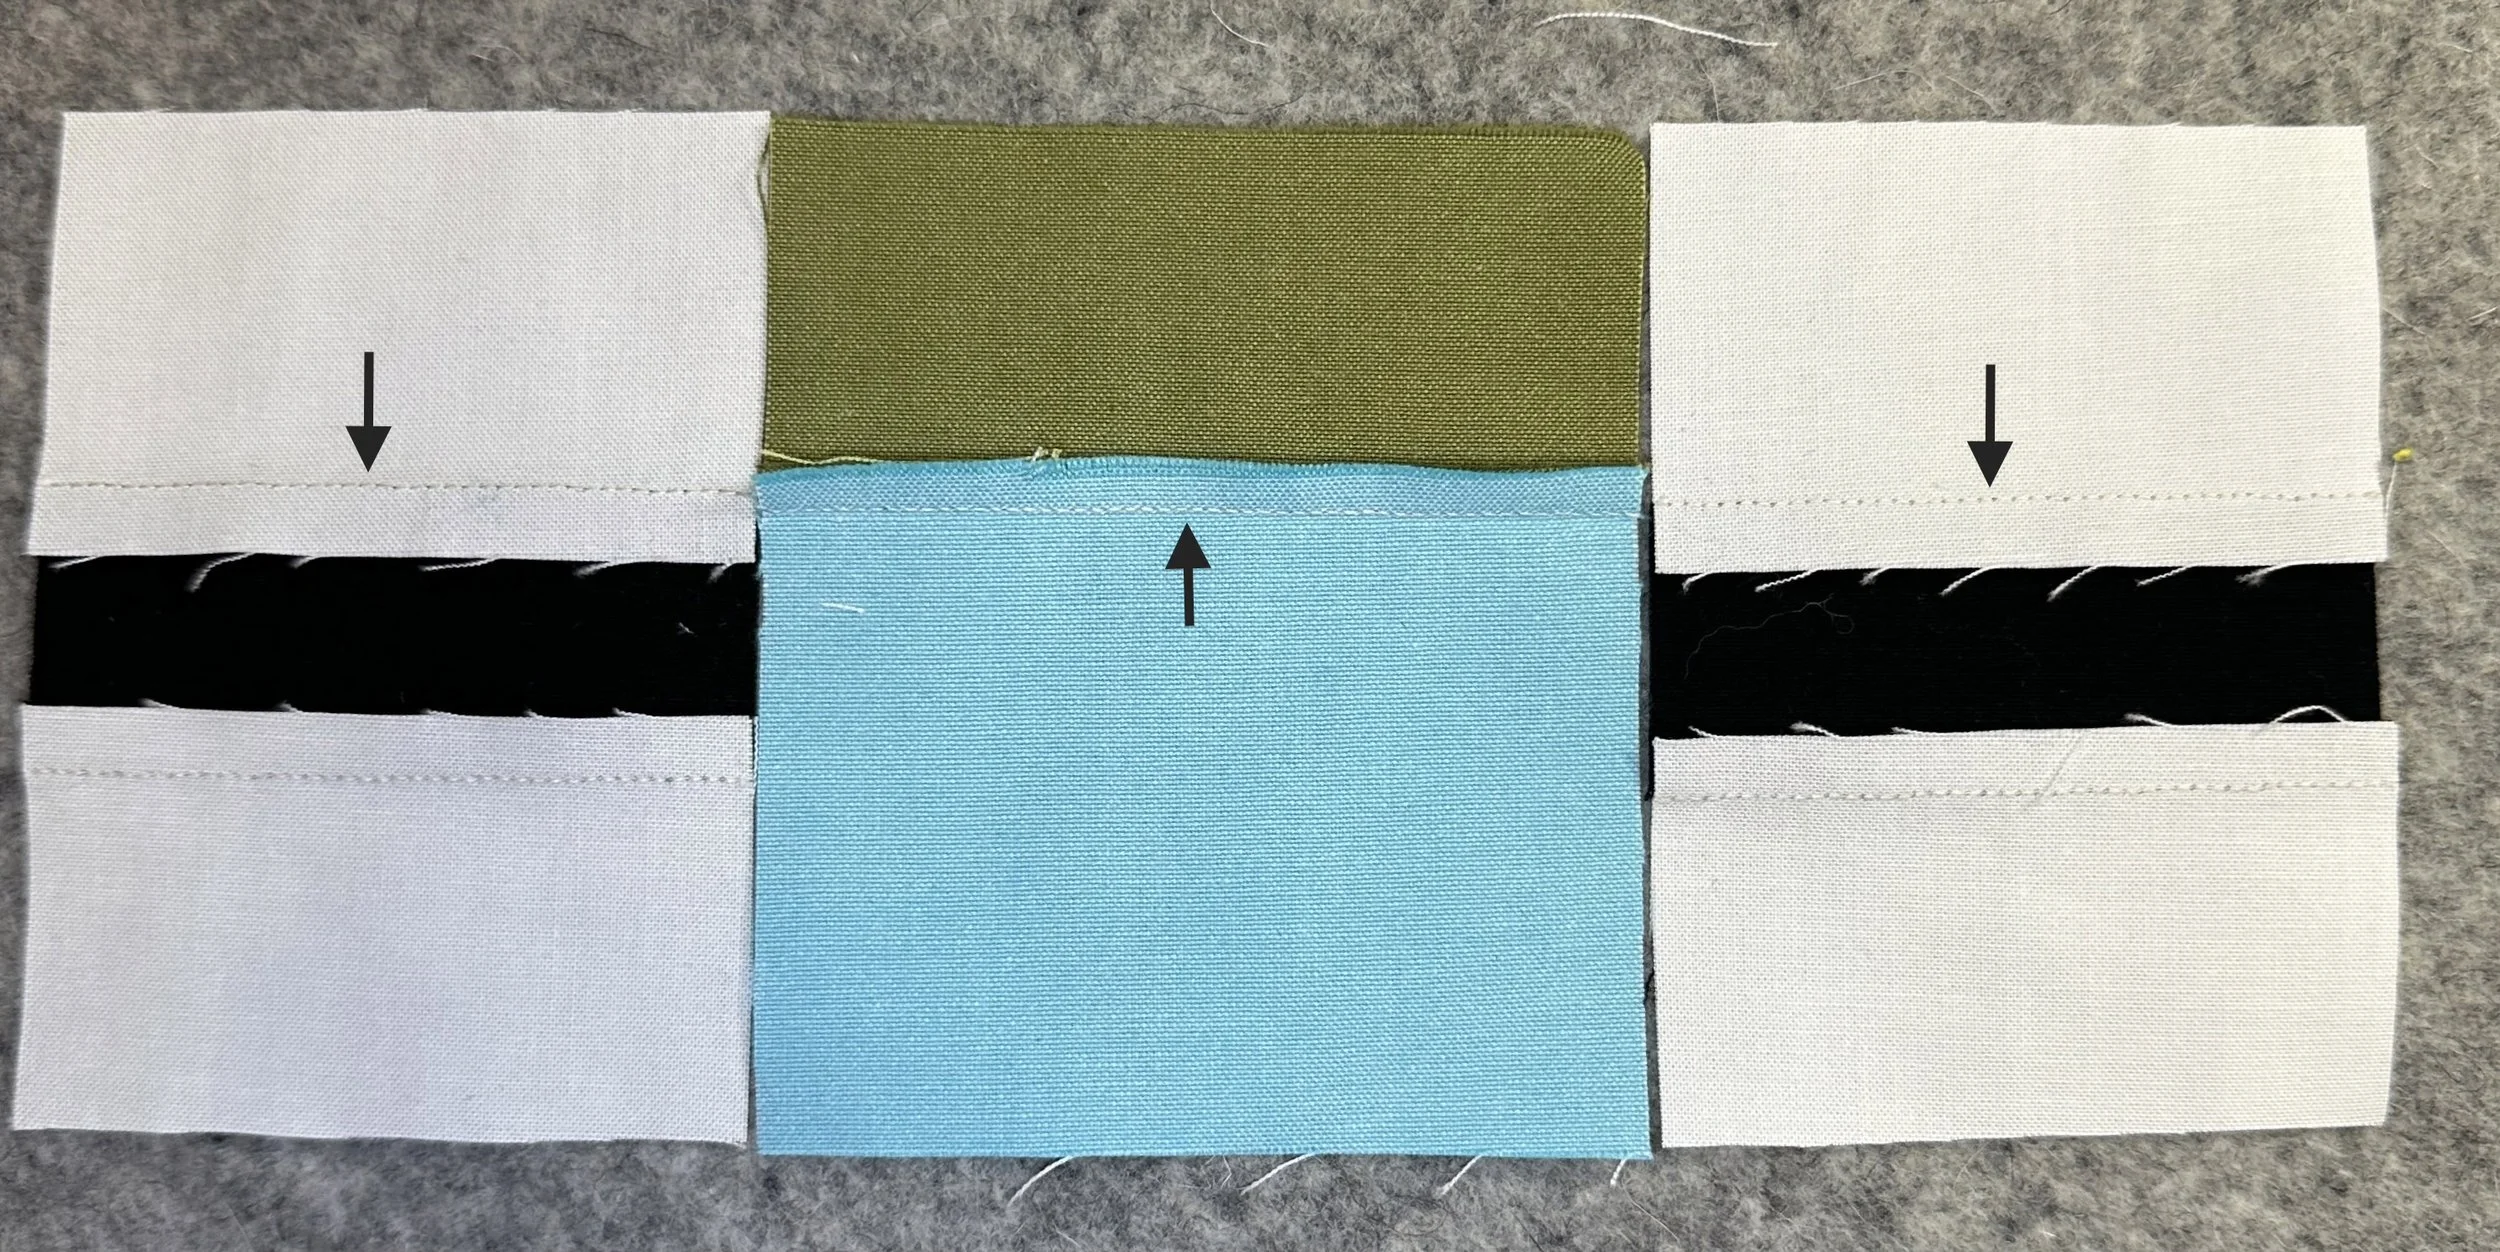
Press the seams for joining blocks in opposite directions.
2. Match the Seams

Nested Seams
Place the two joining pieces right sides together and line up the seams. Use your fingers to feel for that perfect click that nests the seams - you’ll know it when you feel it.
3. Pin or Clip
Pin straight through the intersection, or use a small clip to hold the lock in place, or live on the wild side and sew your seam without pins. I find that sewing without pins actually works best!
4. Sew with a Consistent Seam - I am a lover of the scant ¼” seam.
A predictable seam allowance keeps everything square so the nesting can do its job.
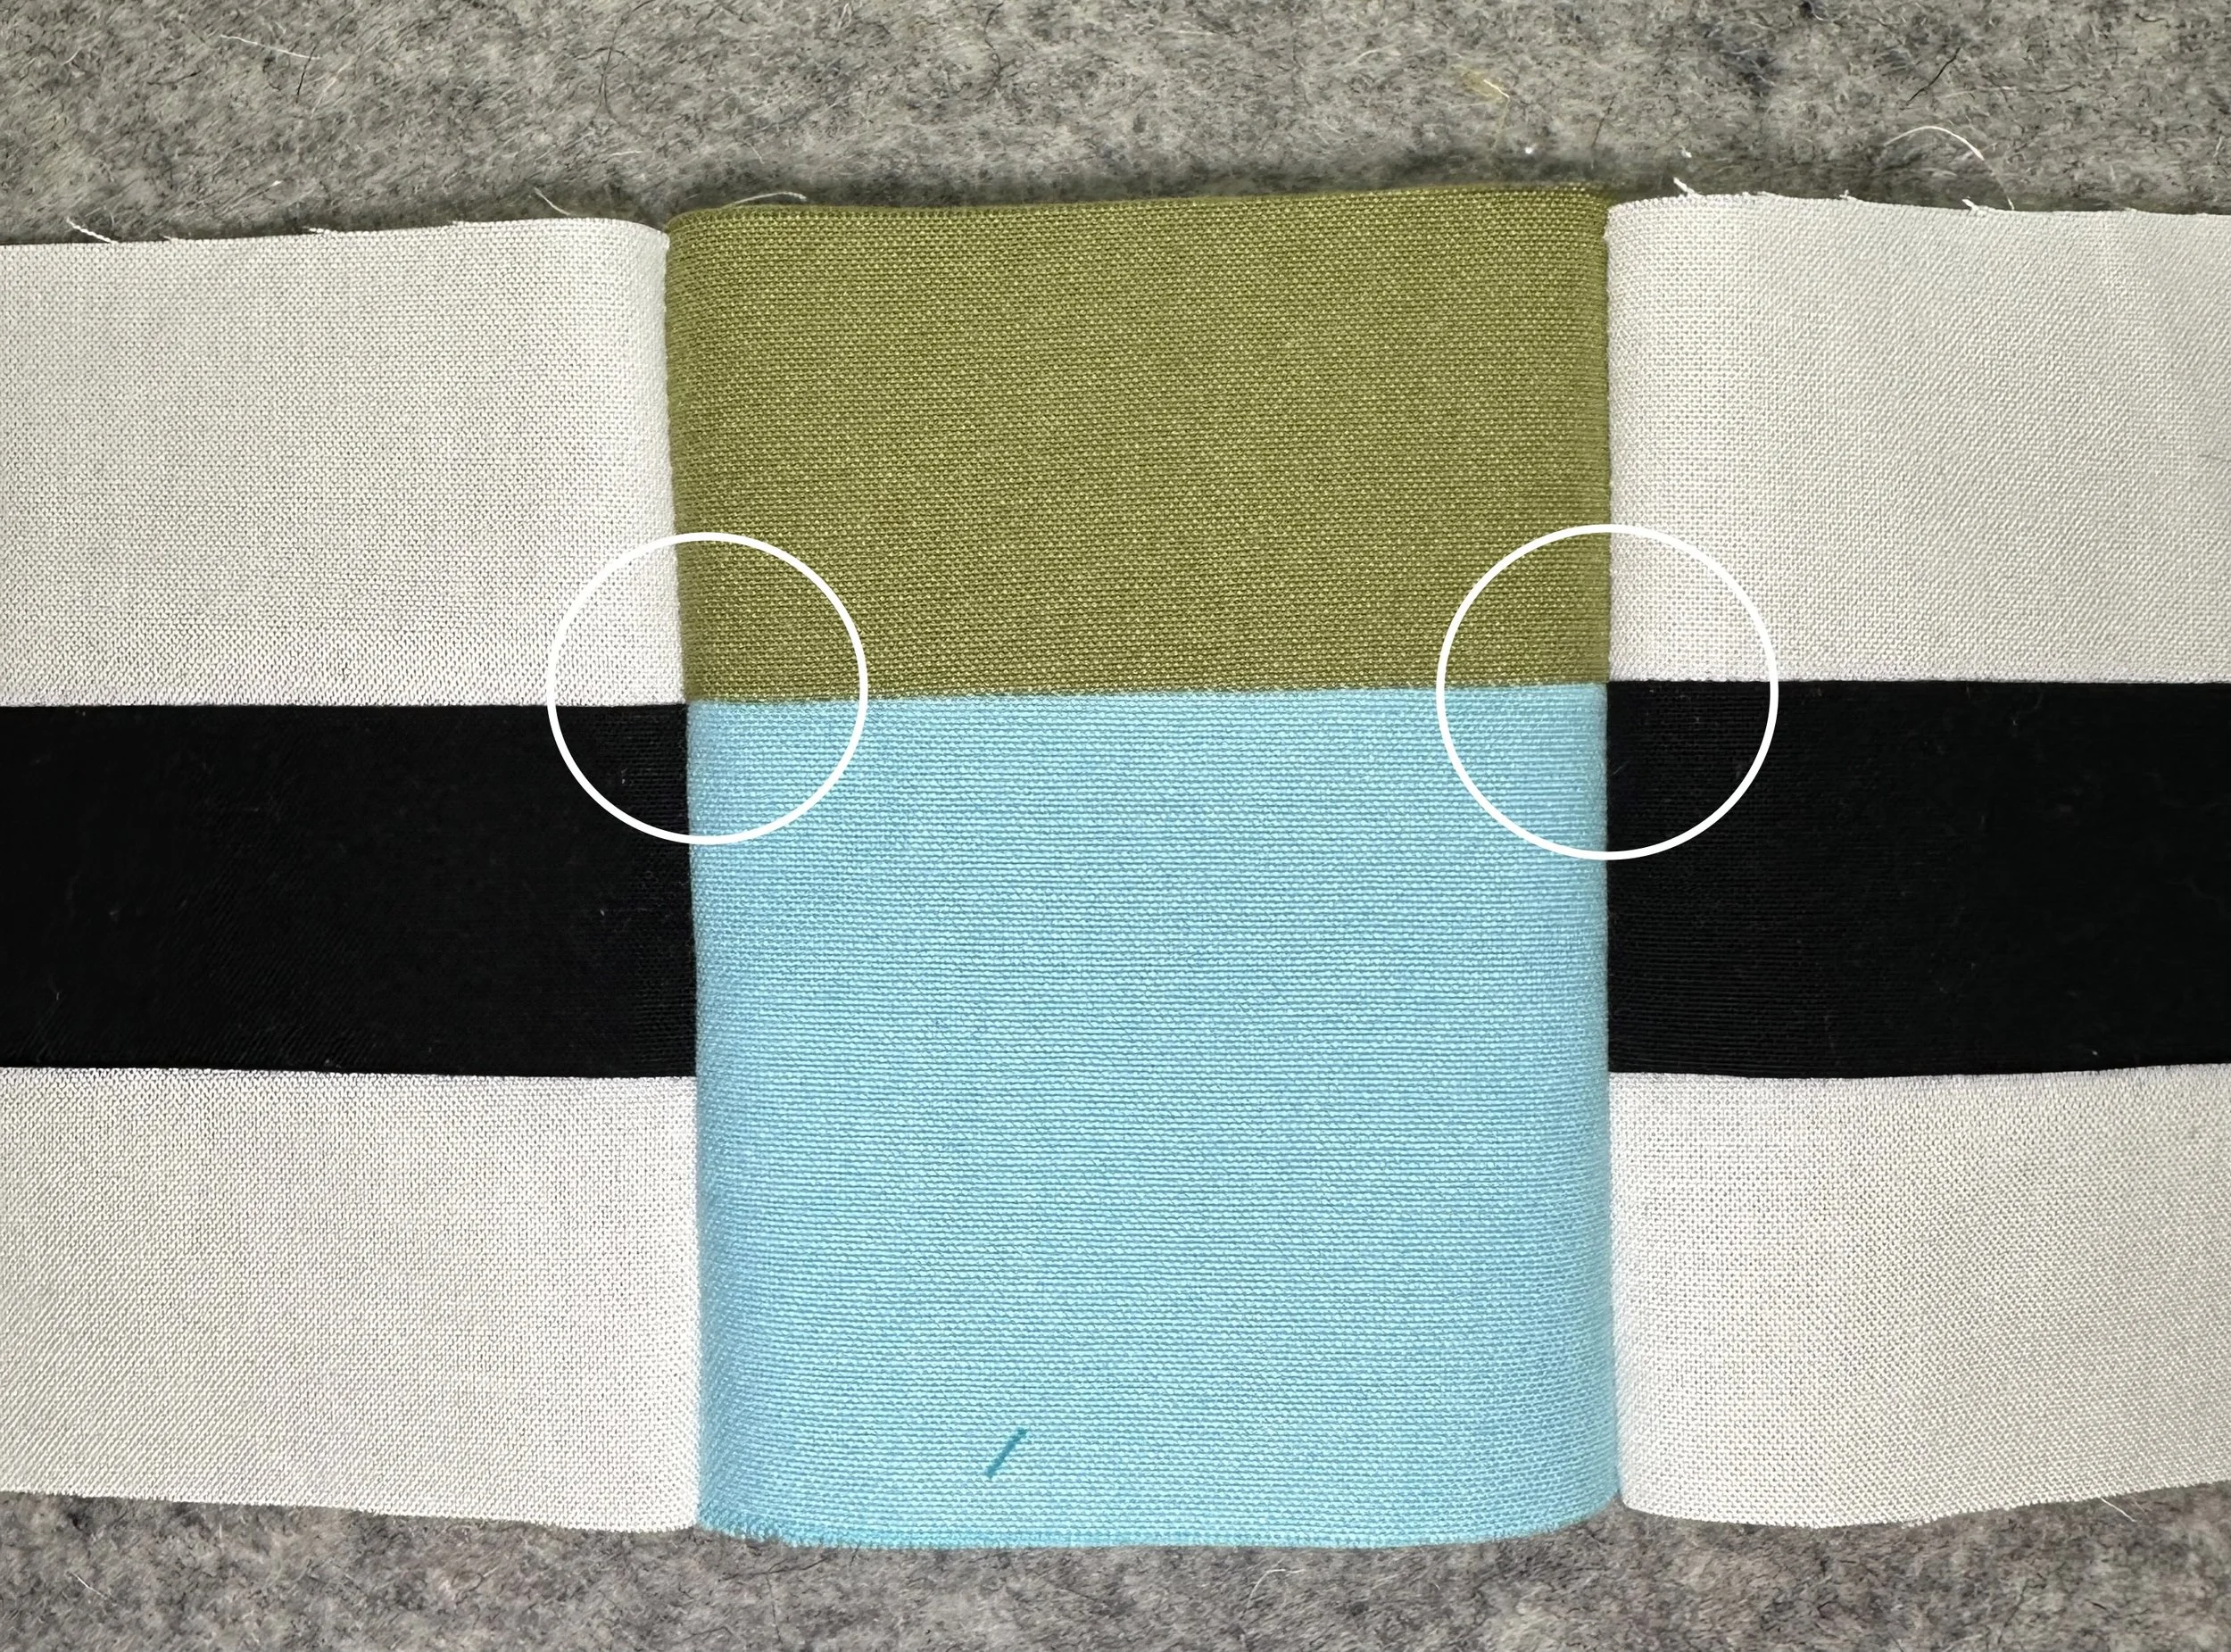
Beautifully lined up and matched seams!
5. Press Again
Press in whichever direction avoids bulk and keeps the block flat. And if you want super-crisp intersections, use a tailor’s clapper right after pressing—it’s my secret weapon for those extra-sharp, flat seams.
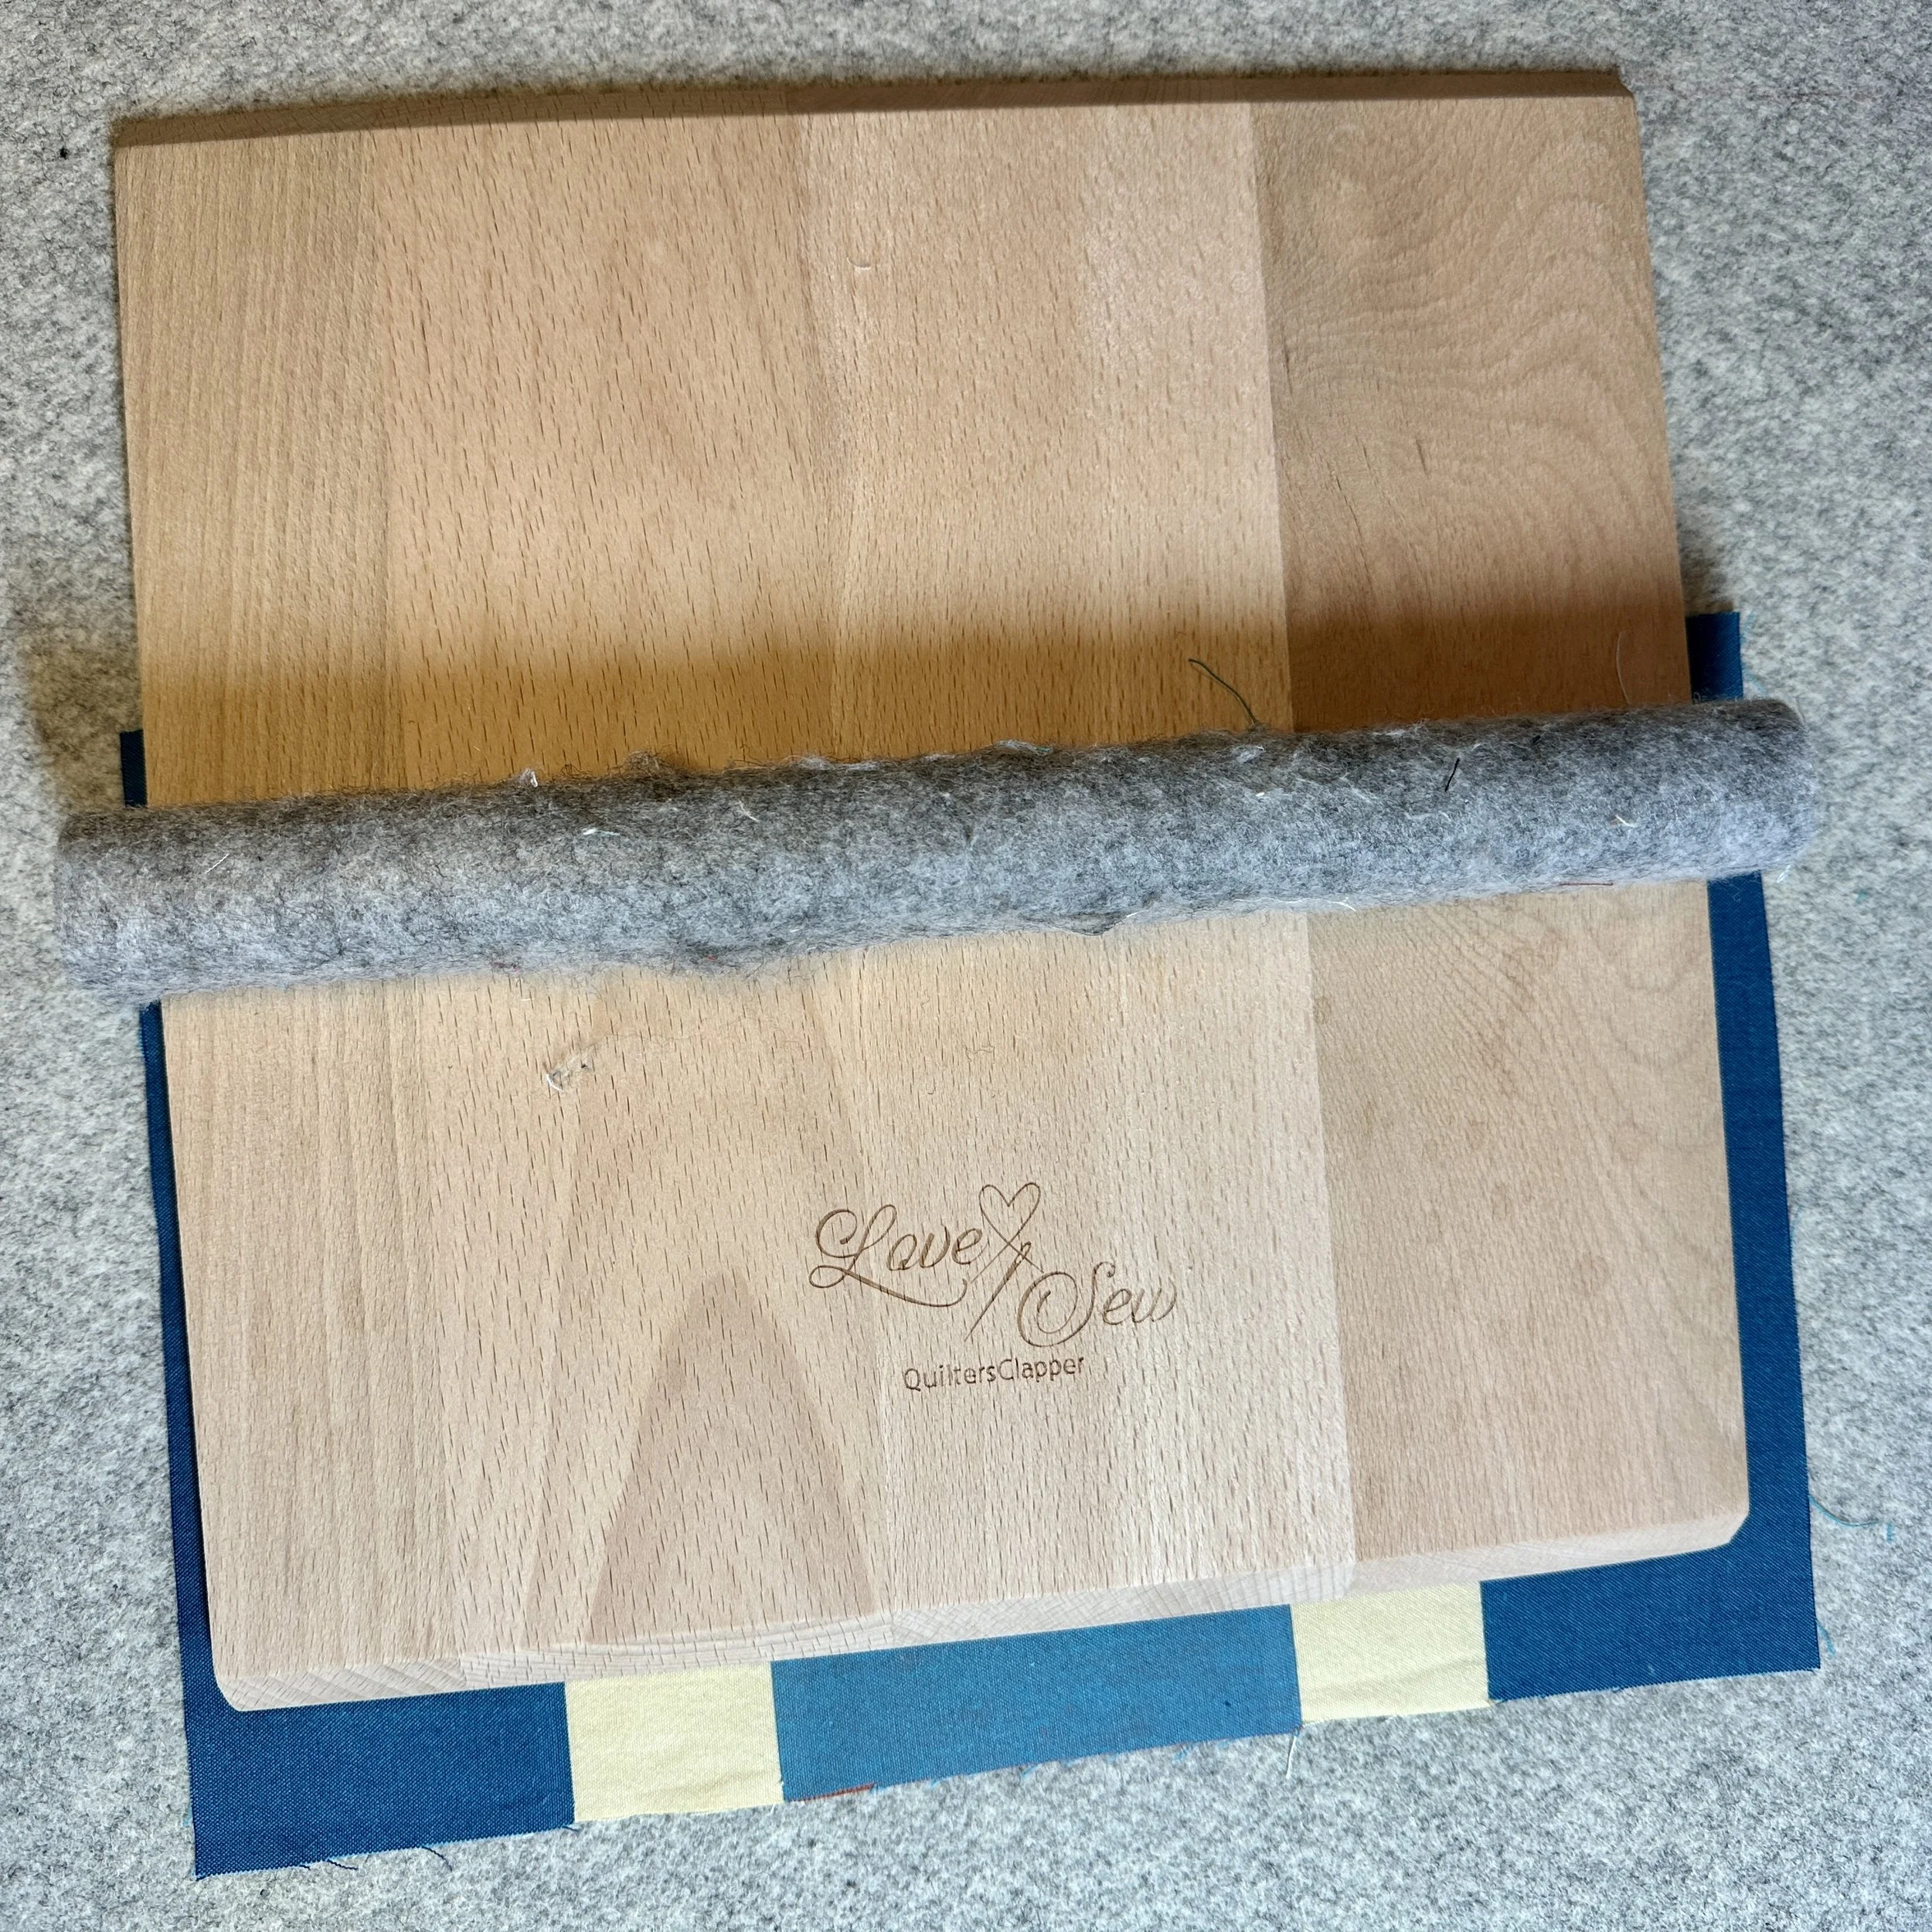
Use A Taylor’s Clapper for flat, precise seams!
When Nesting Really Saves the Day
Complex layouts — like the Caminos quilt pattern with a lot of small pieces, where seams need to match!
Strip piecing — Helps keep long seams from shifting or stretching when working with strip sets.
Color-block-heavy designs — where every inch of alignment shows.
When quilting, later—flatter seams = smoother quilting.
It’s a small technique with a big payoff, especially if you love clean lines and matched seams.
Final Thoughts
Nesting seams isn’t fancy, but I use it in almost every quilt pattern I create. It’s quick, easy to learn, and helps you get better results with less effort. I design my patterns to be simple and easy to make, using nesting seams to make sure your quilt looks neat and precise. If you haven’t tried it yet, give it a go with your next quilt, or follow the pressing instructions in my patterns to achieve this!